Customize Object Schema (BOD, JSON, ANY)
Intermediate | 45 Minutes
Overview
The integration platform acts as the bridge that allows various systems to communicate with one another. It achieves this through several methods, including file reading, database interactions, and API calls, all utilizing a standard set of message formats. In the ION environment, these default formats—BODs, JSON, CSV, DSV, and ANY—are known as object schemas. However, when these standard schemas do not fulfill specific needs, custom messages may be required.
📋 Requirements
|
Tutorial
Please watch the video below for an introduction to the BOD (Business Object Document) message system.
In this tutorial, we will explore how to create custom messages (BODs and JSON), sometimes directly from the File Template or Connection Points, and other times from the Data Catalog. Here is a Layout of what will be covered.
- File Template
- DB Connection Point 2.1. Stored Procedure 2.2. AnySQL
- API Connection Point
- Object Schemas 4.1. From the Connection Point (DB Connector) 4.2. From Sample Data
- Example File
- Manually
1. File Template
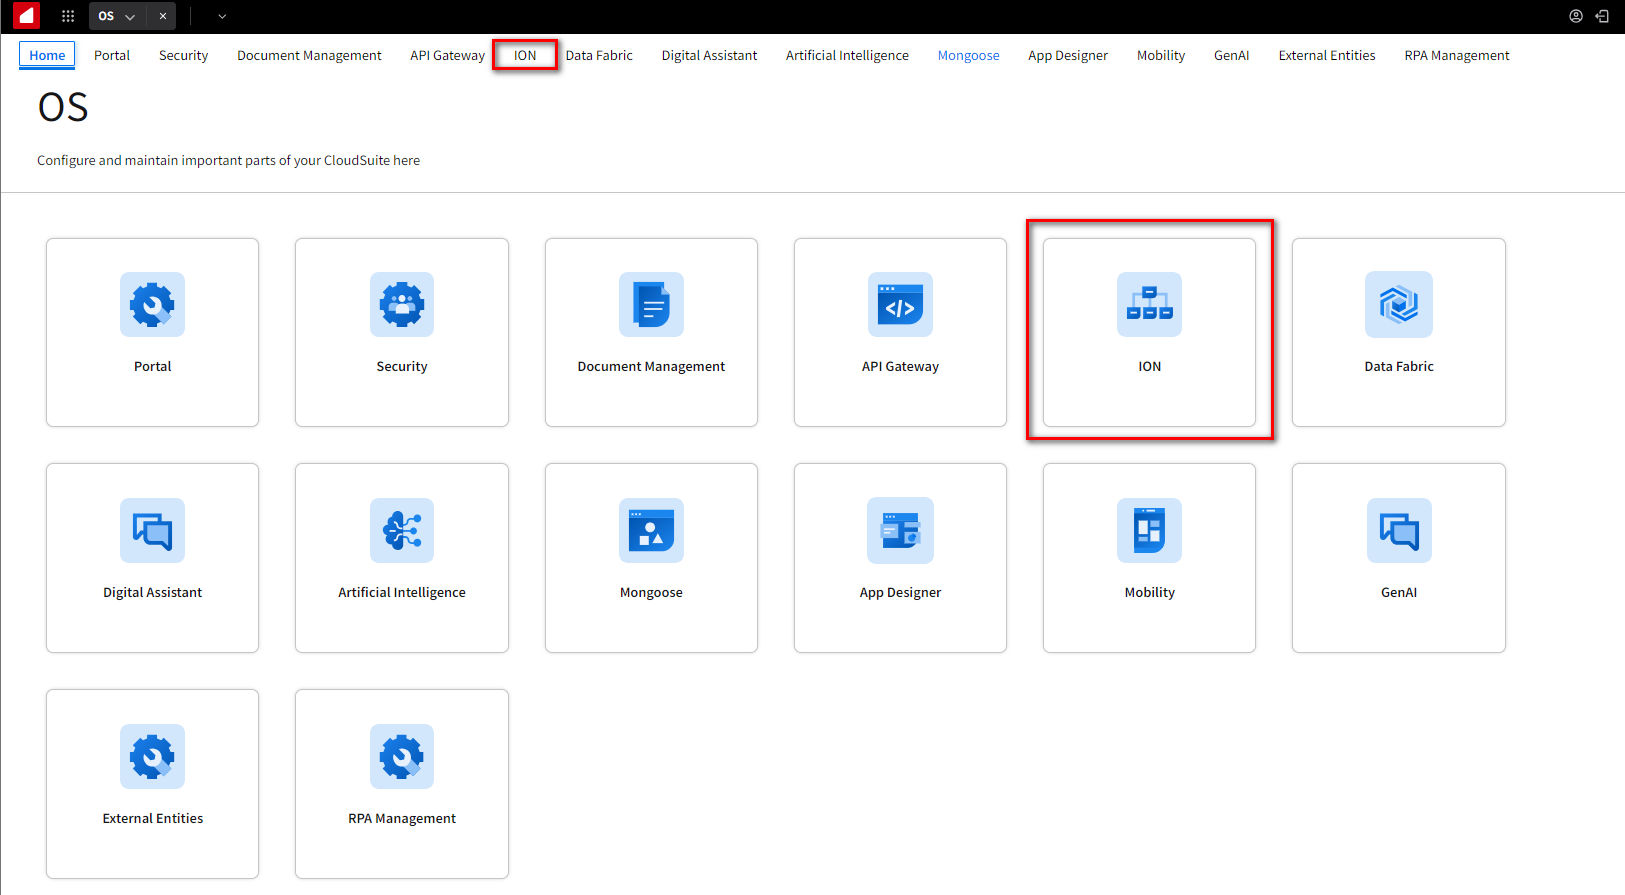
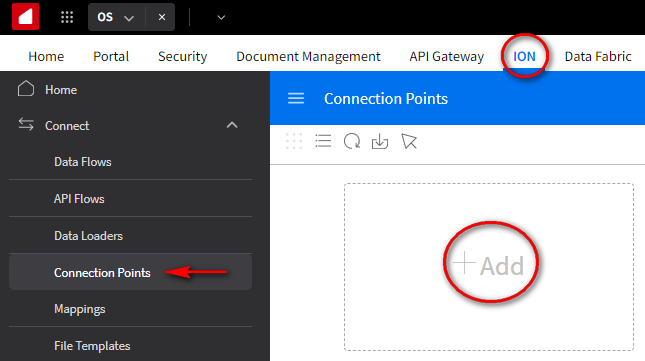
Login to Infor OS Portal. After you have logged in, click the ION tab or select the ION security card located on the main page.
Click the Menu icon then expand the Connect option, click the File Templates item, and click the ( + ) Add option.
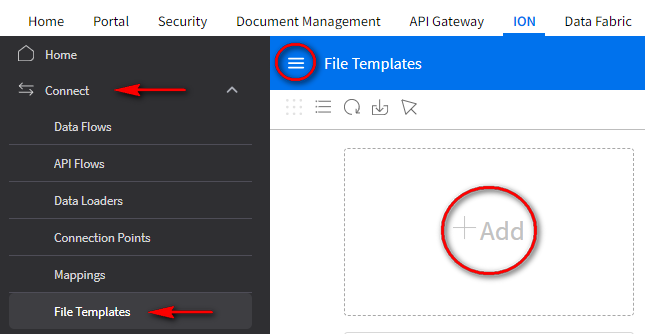
NOTE: This page is composed of the configuration part on the left and 2 tabs on the right (Settings, Fields).
In the configuration section, you’ll need to specify a Name for the file template and have the option to include a Description . You also need to define the File Type (text or binary), File Encoding (such as UTF-8 or ISO8859-1), and the Format Type (Delimited, Fixed-Length, Fixed-Length & Delimited, Full BOD, or XML).
For further information on the meaning of these settings, please consult the File Template properties documentation.
In the Settings tab, you have to provide the BOD name in the Document field, the field separator, and the line separator of your file. There is another property named Generated document that can be (single, or multiple).
In this example we are using the following Settings values:
- Document: EXTERNAL_ITEM
- Field Separator: Comma
- Line Separator: \r\n
- Generated Document: Multiple
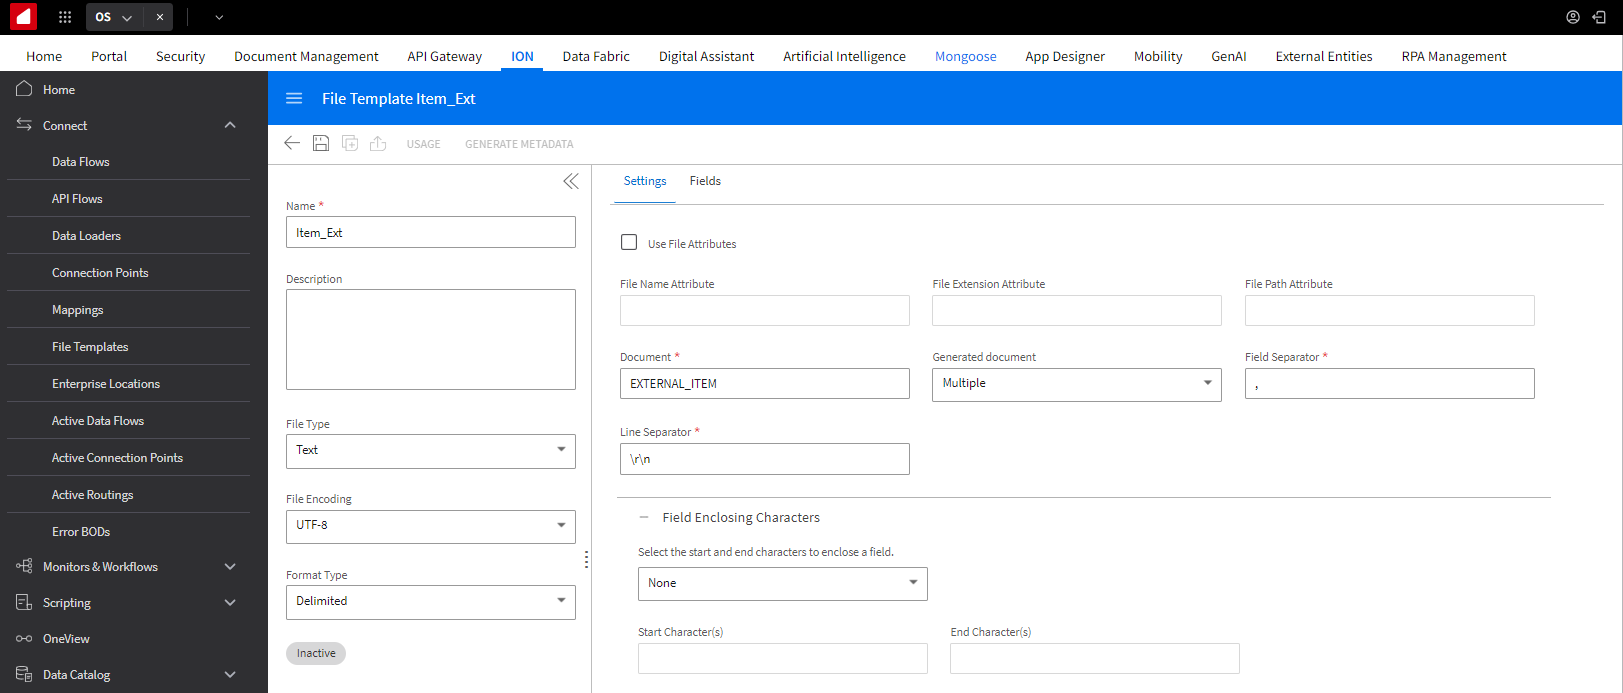
NOTE: Single means that you have one BOD for each line, and Multiple means that you have one BOD for each line of the file.
In the fields tab, Click the ( + ) button to define the structure of the BOD giving the name of the fields that will be the element tag of the Document (BOD Noun). Notice that the FieldName can be optional, this means that in the file you can skip the value for the fields you have selected as optional.
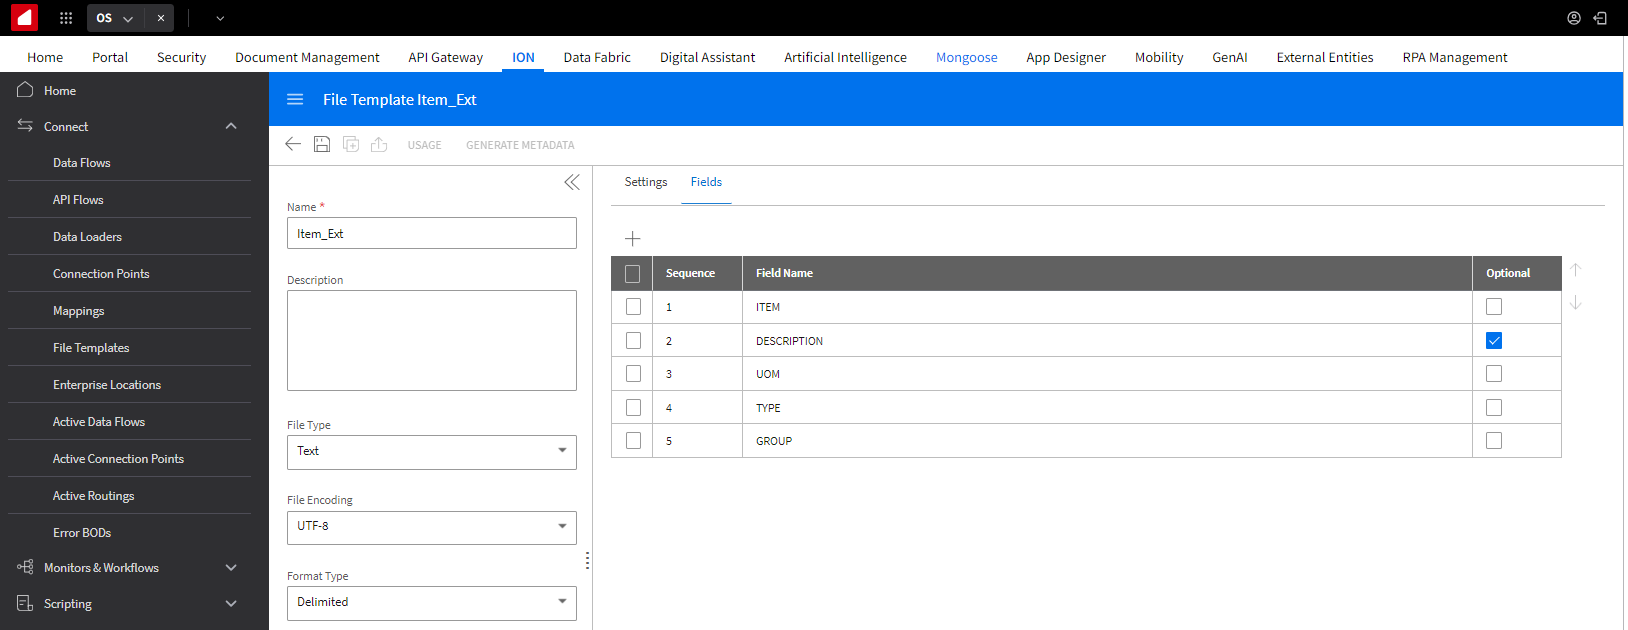
Click Save .
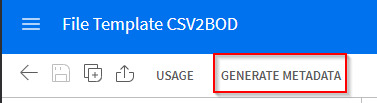
After saving the configuration the Generated Metadata option will be available and we have to click on that to create the custom BOD.
Create a CSV document file with the Field information you configured above, supply the Header information.
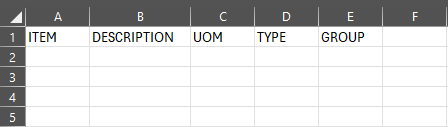
Save the file in a CSV format ( DocumentID.csv ).
Click the GENERATE METDATA button.
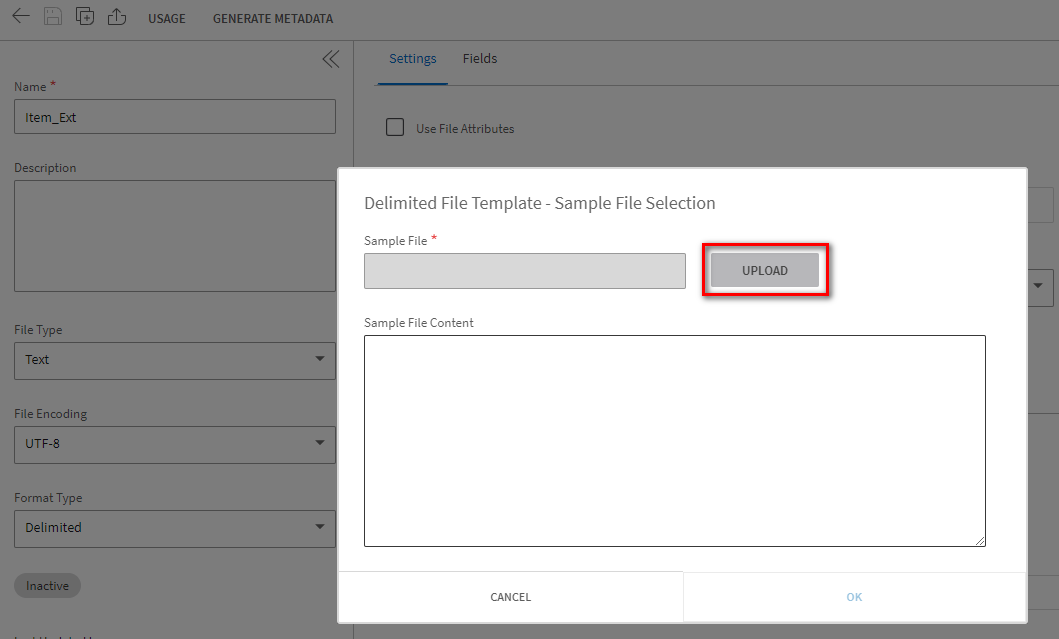
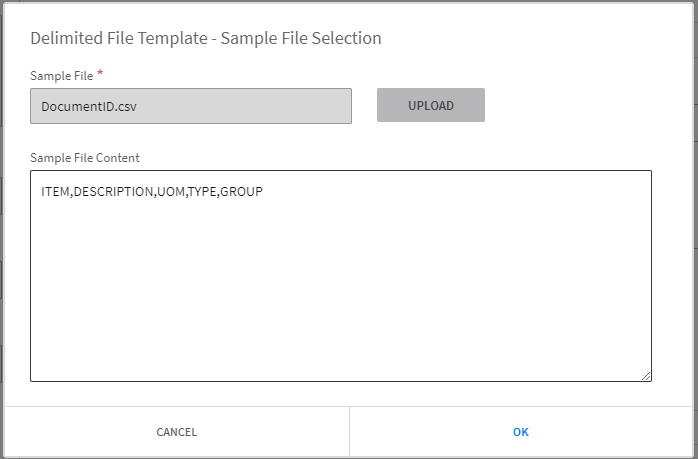
Click the UPLOAD button.
Click on the browse folder icon, select the DocumentID.csv file you just created. Click Ok .
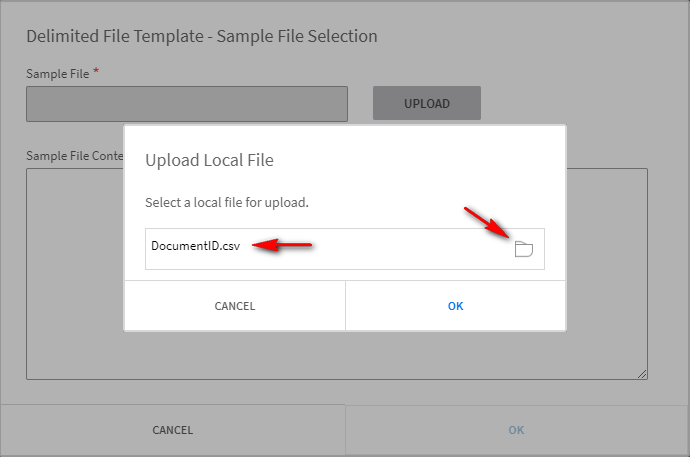
Sample File Content will be displayed, click Ok .
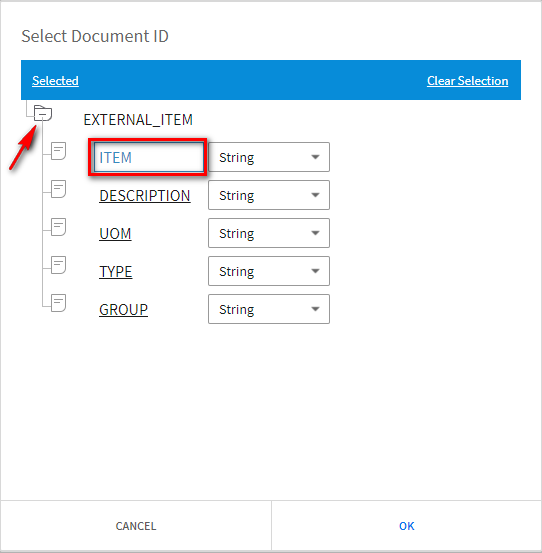
Expand EXTERNAL_ITEM folder and select ITEM , click Ok .
You should get a "Document metadata generation is successful" message, click Ok .
At this stage, we have generated the custom BOD that can receive the CSV file using the File template.
Check the Object Schemas going to the data catalog.

2. DB Connection Point
2.1 Stored Procedure
Let's start with the creation of the DB Connector Connection Point.
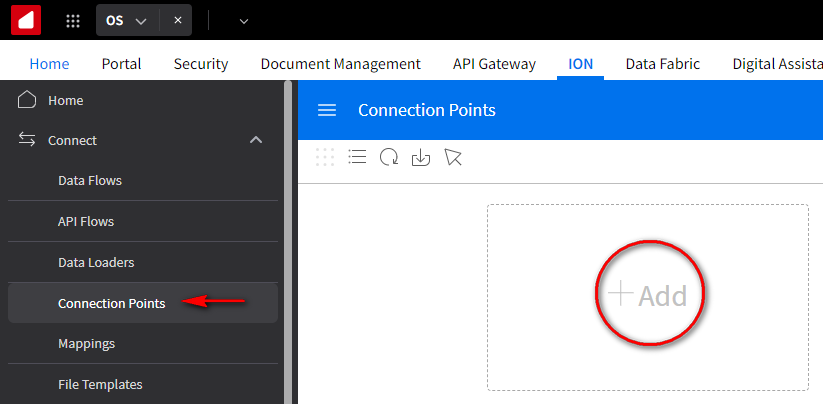
From the ION page, expand Connect and click on the Connection Points option. Click the + Add .
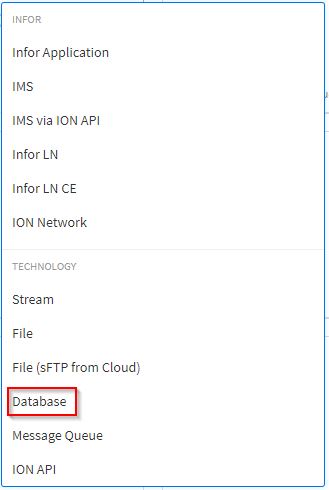
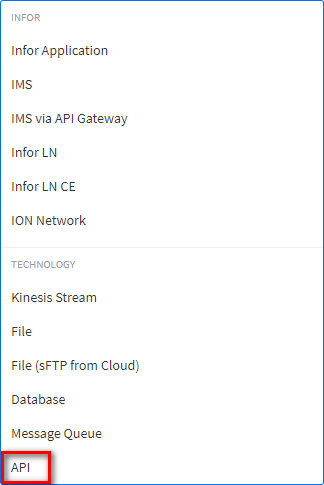
From the list, select the option Database.
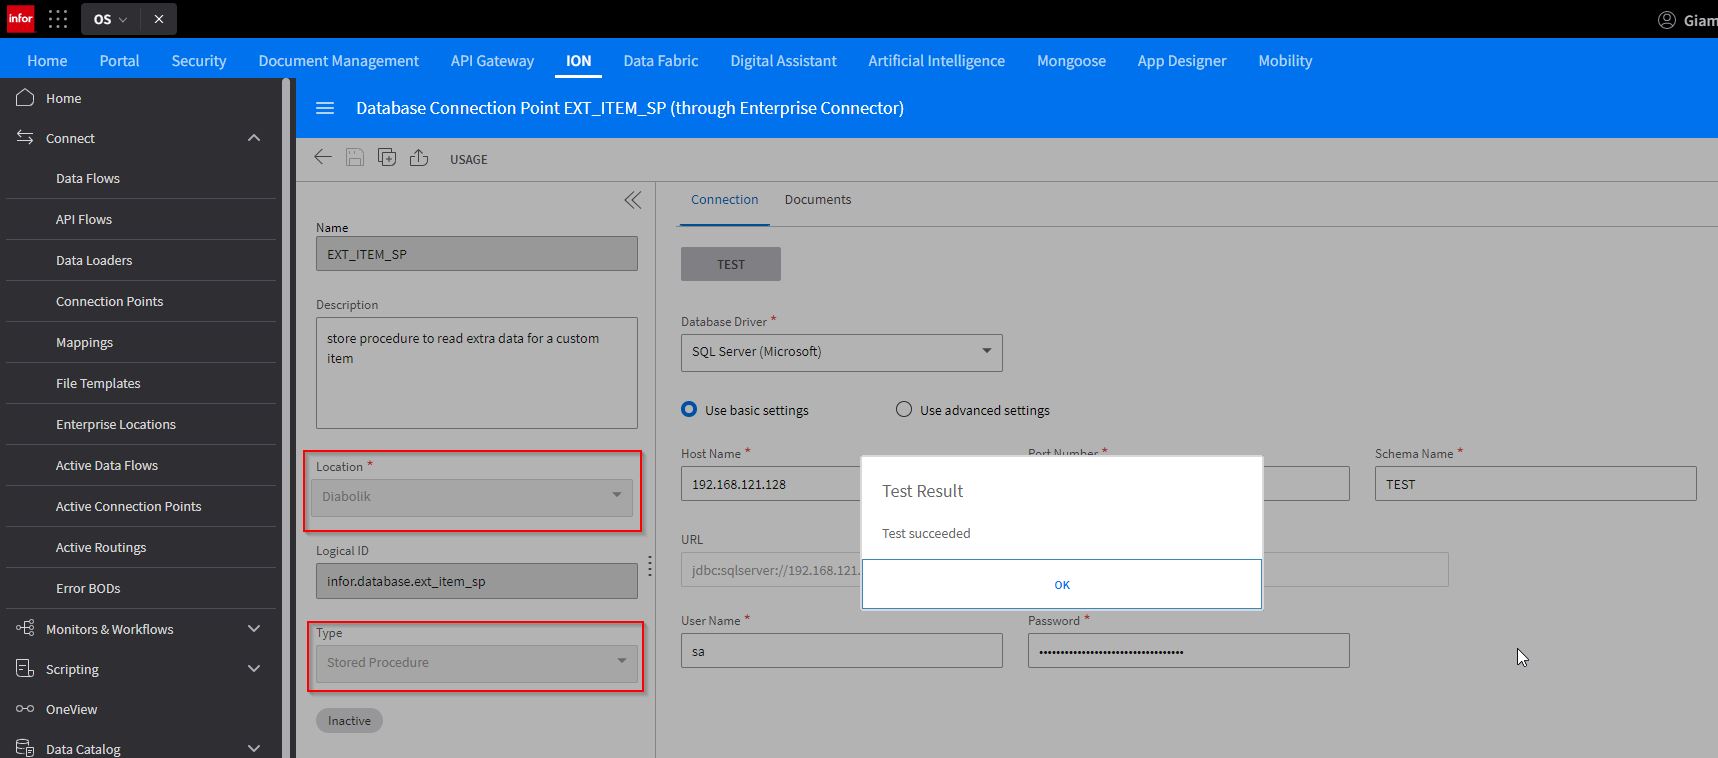
On the Database Connection Point (through Enterprise Connector) page, you have the left side where you have to provide the Name and Description (Optional) of the connection point, you also have to select the Location you want to use to connect to the database.
NOTE: The location is the name that identifies the Enterprise Connector you have installed locally on your server.
After selecting the location , you have to select the type for the DB connection point (Stored Procedure, AnySQL Modeler, Data Loader), in this case, select Stored Procedure .
On the right side, you have 2 tabs, Connection details and Documents details.
For a complete list of details and meanings, please refer to the Database Connection point documentation.
Select the Database Driver from the list drop box, choose if you want to use basic settings or advanced settings , and based on your choice, provide the Host Name , Port Number , and Schema Name for basic settings. Supply the complete URL for the Advanced settings. Specify a User Name and Password for connecting to the database.
Once done, click the test button to check the connection with the database and if everything is okay you get back "Test succeeded
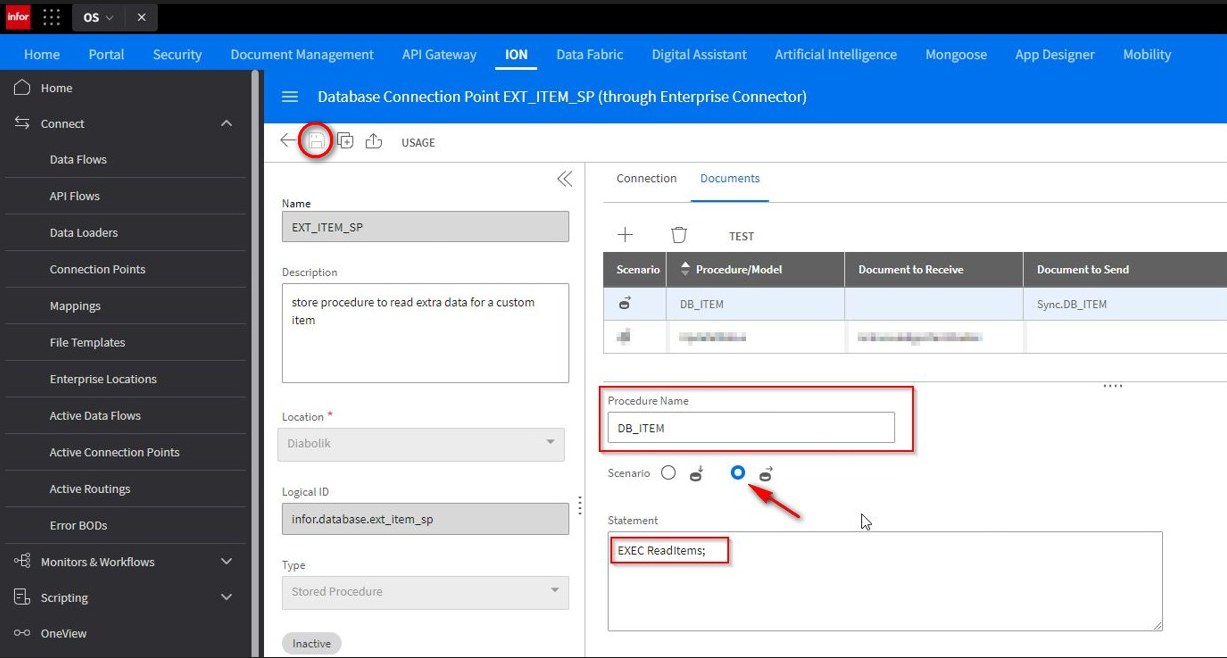
In the Documents tab, you have to create a scenario to read table data from the database using the Stored procedure. Move to the Documents tab and click the ( + ) button, the read scenario is selected by default.
Give a Name to the Procedure and provide the SQL Statement in the text area, to execute the Stored Procedure. Click Save .
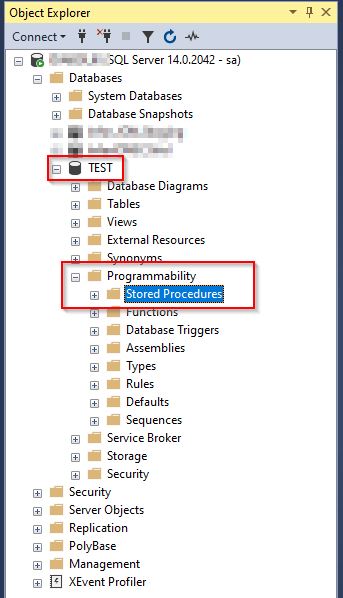
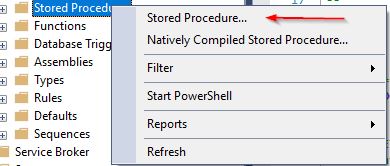
Let's now move to the SQL server and create the stored procedure. With SQL Management Studio , connect to the database we have specified in the connection tab and expand the database ( In this example it is named TEST ), expand Programmability , and select Stored Procedures .
Right-click and select Stored Procedure ...
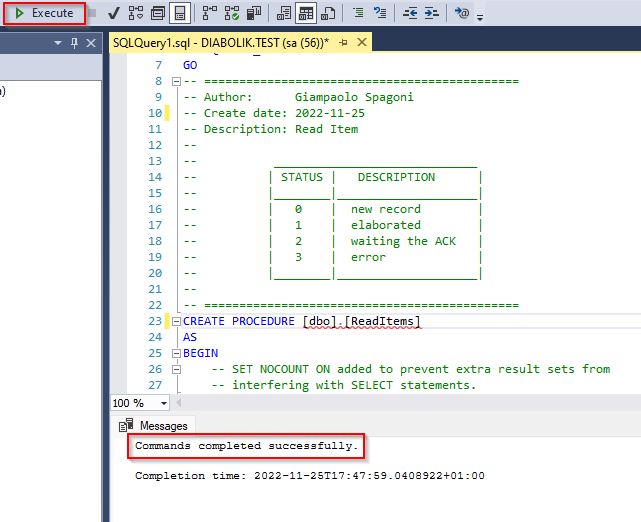
This is the code for the StoredProcedure for SQL server.
USE [TEST]
GO
/*
* Object: StoredProcedure [dbo].[ReadItems]
* Script Date: 11/25/2022 5:18:09 PM
*/
SET ANSI_NULLS ON
GO
SET QUOTED_IDENTIFIER ON
GO
-- =============================================
-- Author: Giampaolo Spagoni
-- Create date: 2022-11-25
-- Description: Read Item
--
-- _____________________________
-- | STATUS | DESCRIPTION |
-- |--------|-----------------|
-- | 0 | new record |
-- | 1 | elaborated |
-- | 2 | waiting the ACK |
-- | 3 | error |
-- _____________________________
-- =============================================
CREATE PROCEDURE [dbo].[ReadItems]
AS
BEGIN
-- SET NOCOUNT ON added to prevent extra result sets from
-- interfering with SELECT statements.
SET NOCOUNT ON;
BEGIN TRAN
-- Insert statements for procedure here
SELECT (
SELECT
DB_ITEM.ITEM,
DB_ITEM.DESCRIPTION,
DB_ITEM.UOMA,
DB_ITEM.TYPES,
DB_ITEM.GROUPS,
DB_ITEM.COLOR,
DB_ITEM.HEIGHT,
DB_ITEM.WIDTH,
DB_ITEM.DEPTH,
DB_ITEM.UOMB
FROM ITEM_EXT AS DB_ITEM
WHERE DB_ITEM.STATUS = 0
FOR XML AUTO, ELEMENTS, TYPE
).query('for $i in /DB_ITEM return <DataArea>{$i}</DataArea>');
UPDATE ITEM_EXT
SET STATUS = 2 -- waiting a response
WHERE STATUS = 0
COMMIT TRAN
END
Click the Execute button to create the Stored Procedure.
You will receive a message that the command completed successfully.
Let's insert some rows into the table.
USE [TEST]
GOINSERT INTO [dbo].ITEM_EXT
VALUES
('CAR001', 'car 1', 'EA', 'Product', 'USF100', 'red', 140, 200, 450, 'mm');INSERT INTO [dbo].ITEM_EXT
VALUES
('CAR002', 'car 2', 'EA', 'Product', 'USF100', 'white', 135, 195, 420, 'mm');INSERT INTO [dbo].ITEM_EXT
VALUES
('CAR003', 'car 3', 'EA', 'Product', 'USF100', 'white', 400, 400, 400, 'mm');GOTransfer back to the OS Portal, and from the connection point you just creating click the TEST button. You will receive XML output with the BOD structure.
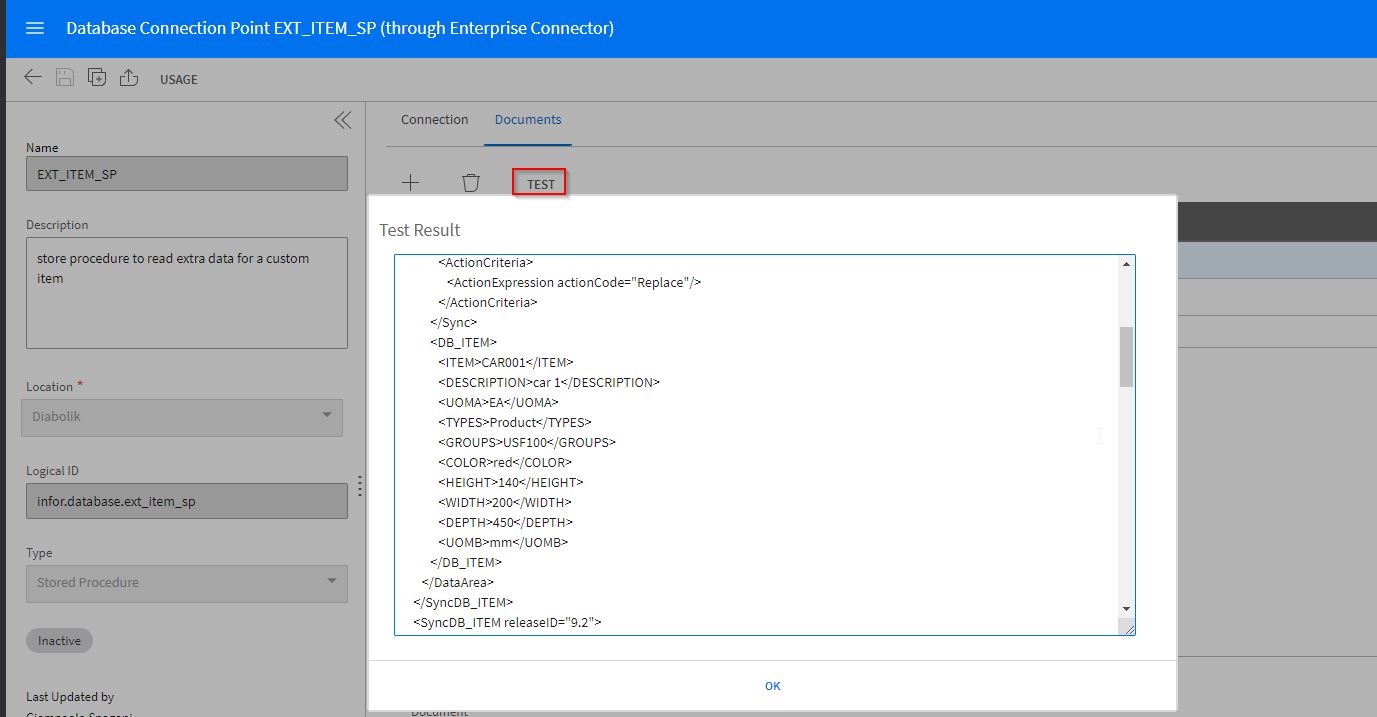
This proves that the connection point works properly and you are able to read the table data and generate an XML.
Now let's create the custom BOD that generates the object schema in the Data Catalog, but before doing this you have to reset the status of the records in the table. This is because the Stored Procedure has updated the status for not reading the same records over and over.
Go to the SQL Management Studio , open a New Query editor and run the following command.
Update [dbo].[ITEM_EXT] set [ITEM_EXT].[STATUS]=0 where [ITEM_EXT].[STATUS]=2
Now you are ready to generate the schema for the custom BOD.
Transfer back to the OS Portal and on the Database Connection Point (through Enterprise Connector) screen click the Generate button
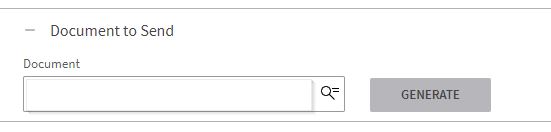
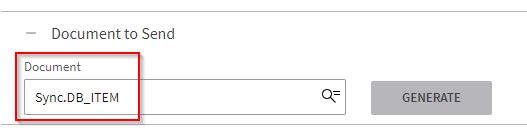
As in the file template, you get a form where you have to select the DocumentID and when you click the "OK" button you will see the custom BOD name in the document text box.
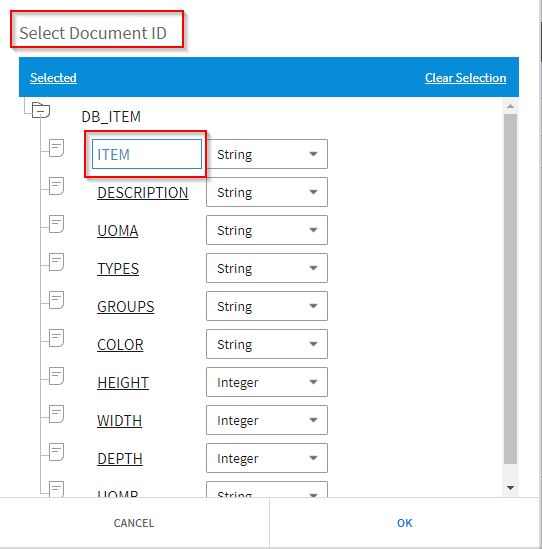
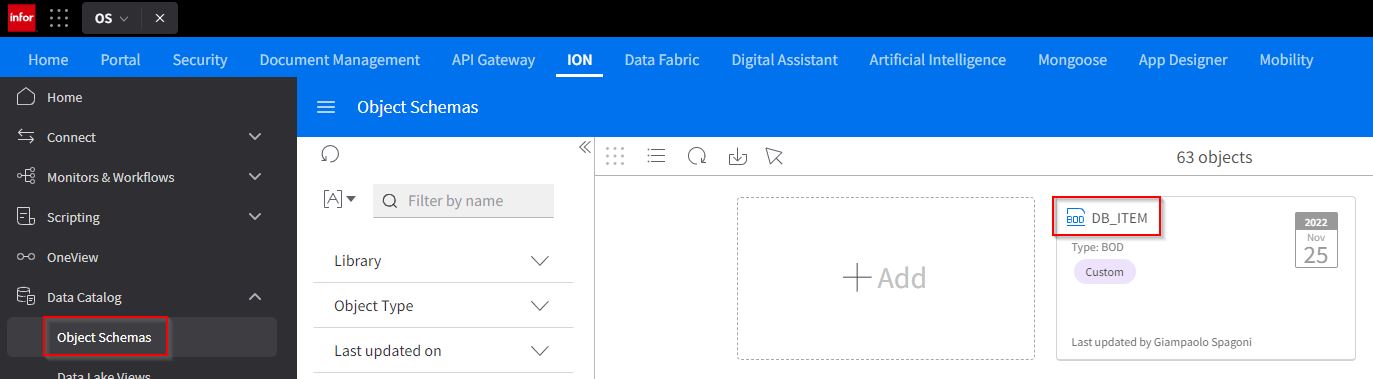
Go to the data catalog to see the newly created object schema
2.2 AnySQL
Let's start with the creation of the Database Connector connection point.
Follow the same steps as above for the creation of the connection point, the only difference is the Type is AnySQL Modeler . Also, the Connection tab is the same.

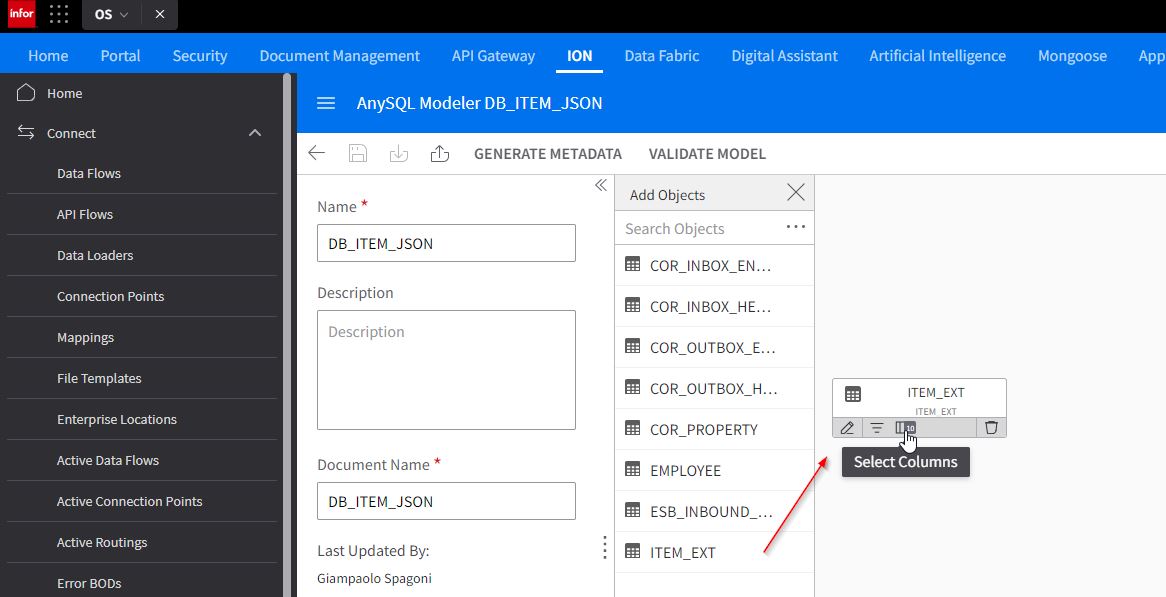
Move to the documents tab, click the ( + ) button, and then the EDIT button
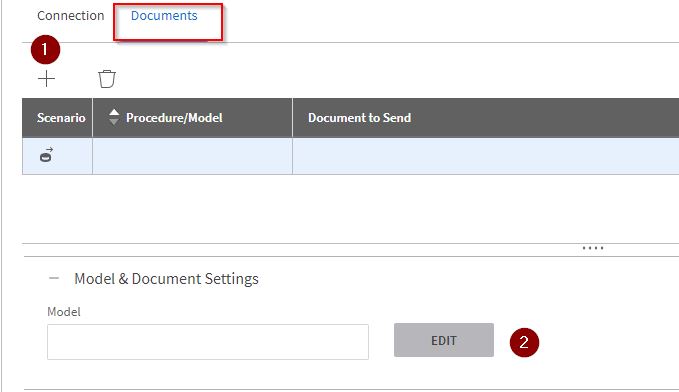
From this page, give a Name to the model, give a name to the Document Name and click the (+) button to retrieve the list of tables of the database.

Drag the table into the canvas and click on the select columns icon.
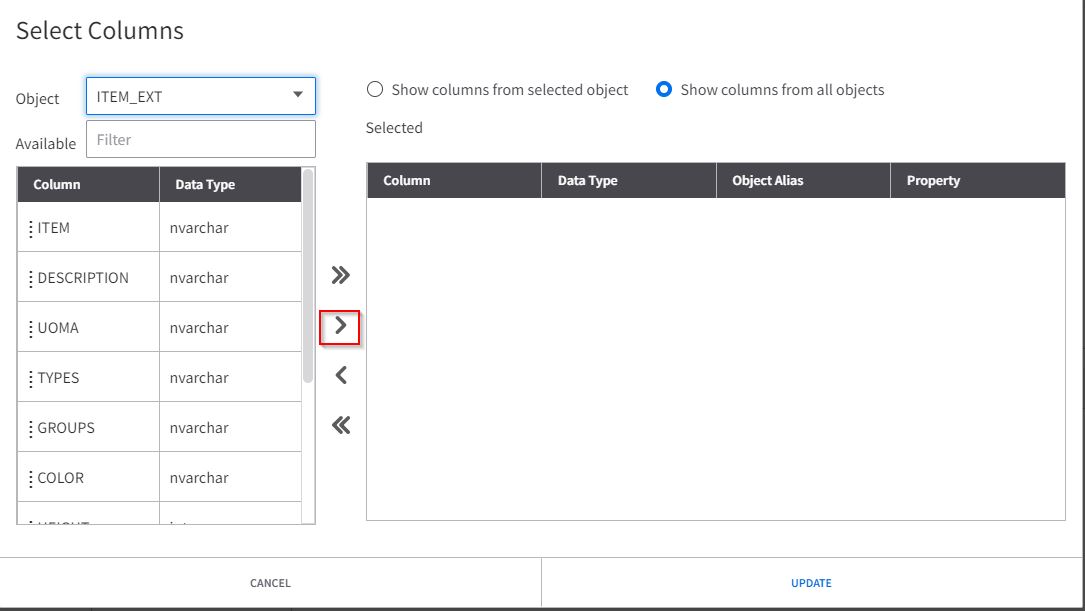
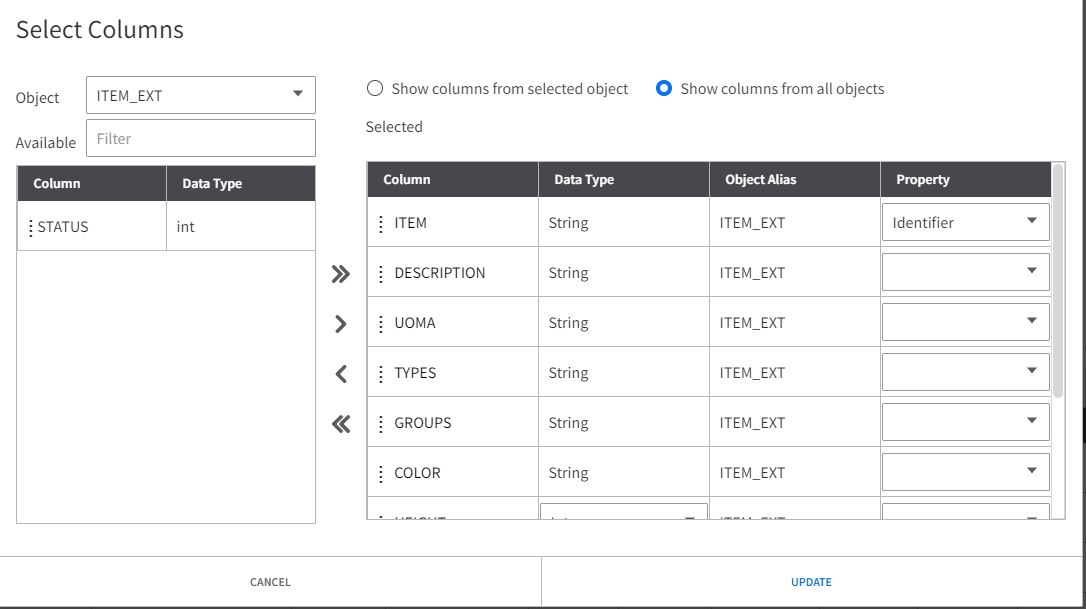
Select the columns you are interested in and click the > arrow. In the ITEM row, use the dropdown list of the Property column and select identifier , then click the UPDATE button.
You will see the result in table format.
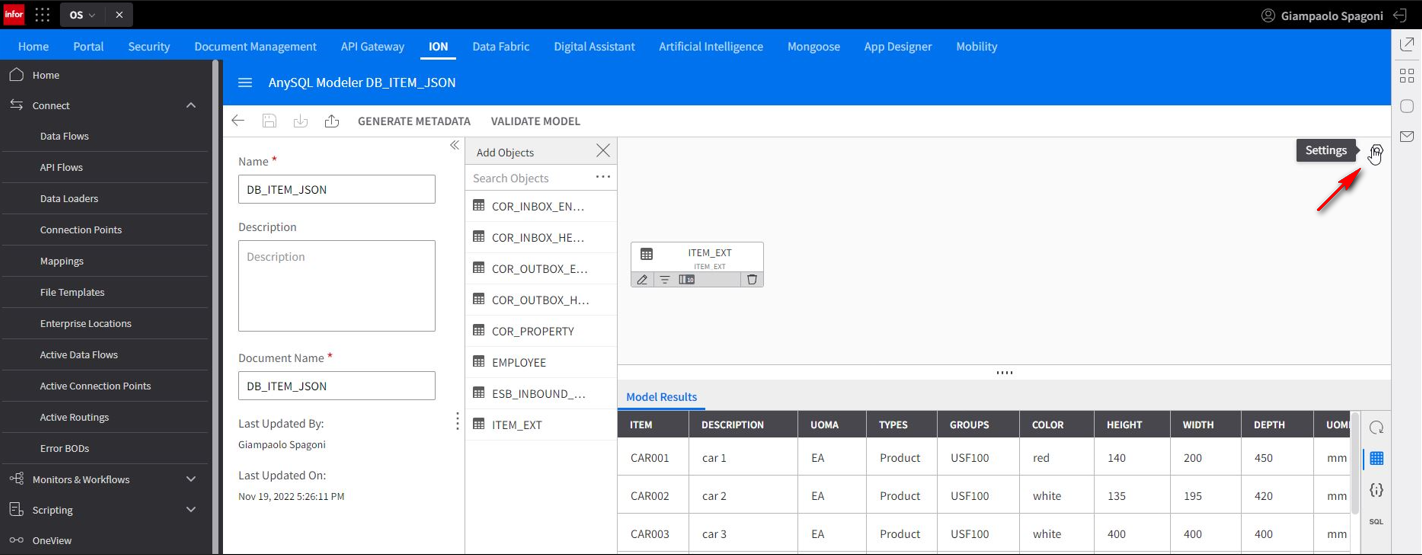
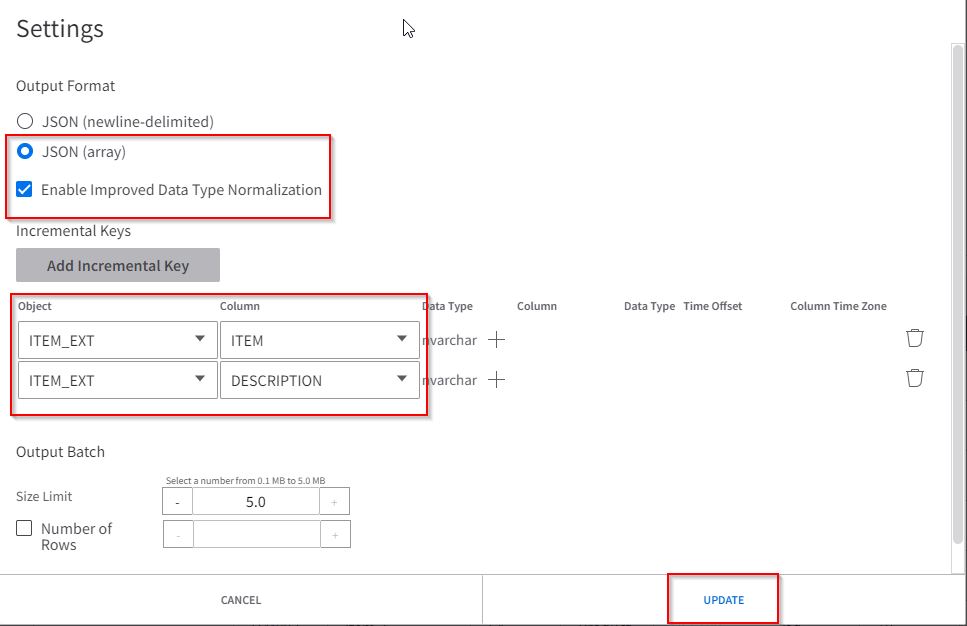
Click the Settings icon as described above and in the settings form, select output format as JSON (array) , flag the Enablement Improved Data Type Normalization option, click twice on the Add Incremental Key button to add two rows. Configure the Object and Column fields as below, then click UPDATE .
Click Save on the connection point and click the GENERATE METADATA button to create the JSON Object Schema, you will get a message that the schema has been generated successfully
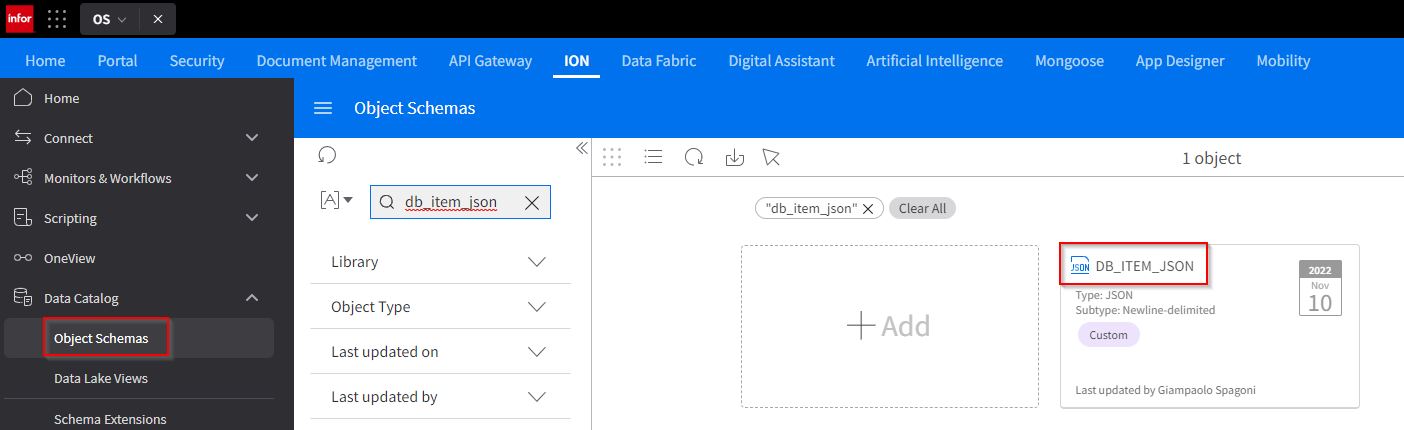
Go to the data catalog to see the newly created object schema
3. API Connection Point
For the API Connector, create an API Connection Point.
From the ION page.
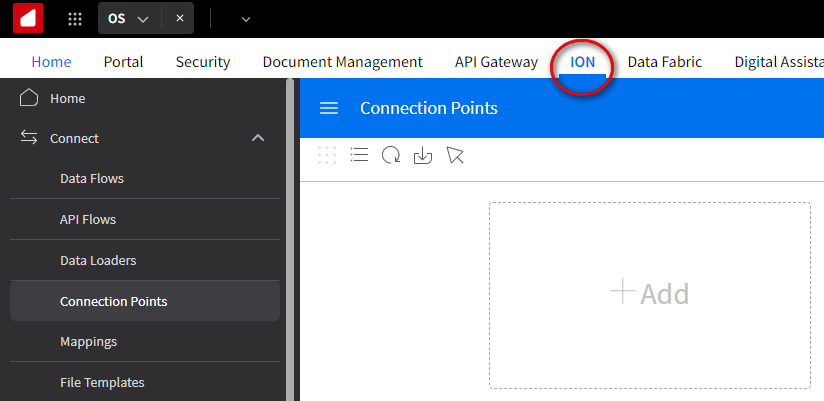
Click on the Connection Points option and then in the + Add dotted box.
From the list, select the option API
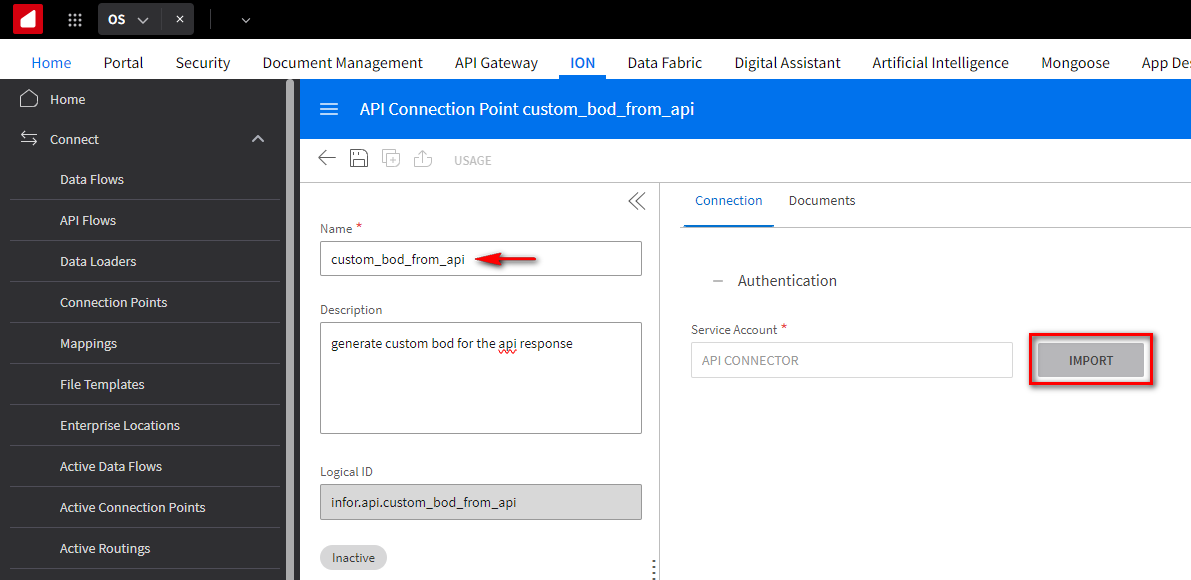
On the left side of the page, give the Name and Description of the connection point. On the right side there are 2 tabs, Connection and Documents .
In the Connection tab, click the IMPORT button and select the CSV file of the service account.
Watch the video below on how to create a Service Account .

Click Ok .
Click on the Documents tab, then click the ( + ) button.
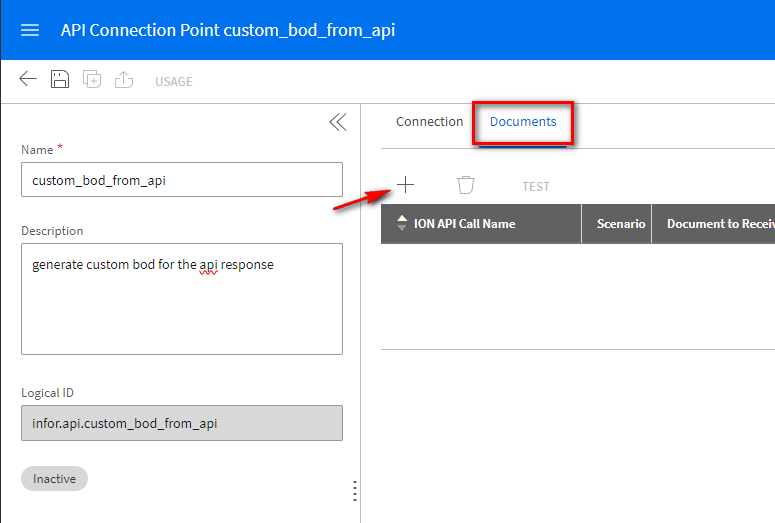
By default, the Get from API scenario is selected.

Give a name to the API Call Name and click the SELECT button to choose an endpoint from the registered API suite in the gateway.


Click Ok .
Click the Output Document tab, then the GENERATE METADATA button,

Select Document Type ANY and give a Document Name to the new custom schema, click Ok .

To check that everything is OK, click the TEST button below the documents tab.

A pop-up form comes up, click the TEST button again and you receive the output of the API call.


Click Close .
Go to the Data Catalog to see the newly created Object Schema .

4. Object Schema
4.1 From the Connection point (DB Connector)
Go To the Data Catalog and click the ( + ) button and select the option Generate from Connection Point .

In the Select Connection Point section, using the drop down select your Database Connector to populate the Connection Point field. Click Next .

In the Select Items to Register section . From the Available Tables and Views section, you have to choose which table you want to use to create your custom schema. Move those selections to the Selected Tables and Views section.

In the Define Object Details section. Rename the table name if you want to give a specific name to the custom schema, plus you can set the primary key of the table as an identifier. Keep in mind that we are generating a JSON custom schema and for this reason, during the wizard, you are asked to provide an identifier, variation, timestamp, and delete indicator.

In the Review Object section you can check your choices. You are ready to generate the new custom object schema by clicking the Generate Metadata button at the bottom right.

In the Summary section you can see the result of the operation.

Click the Close button to go back to the Data Catalog object schema and check the newly created custom schema.

4.2 From Sample Data
Go To the Data Catalog - > Object Schemas and click the (+) button and select the option Generate from Sample Data .

You have 2 options, Generate from sample data (default), or Build manually . Let's continue with the default option. You have to drag and drop or select and upload a file that contains the structure for the new schema. Based on the file extension you provide, the system understands if you want to create a custom BOD or a custom JSON schema.

Let's perform a test with an XML and a JSON file and see the differences. Download and extract the Custom Object Schemas.zip file located in the Downloads section at the end of this Tutorial. the zip file contains the following files.
- CUSTOM_ITEM_JSON.json * external.xml
XML Schema Information :


JSON Schema Information :


Let's now create a custom schema manually. Go to Data Catalog - > Object Schemas , click the (+) button and select Generate from Sample Data .
Select Build manually and click Next .

Supply a Object Name for the Custom Object, a Title and Description (optional), select the Object Type , and click Next .


As we have selected type BOD , on the next page you have to provide the properties definition to define a BOD in XML format , so for each property, give a name and select the property type and the data type plus other configurations and click Next .

From the Additional Metadata steps, select the Identifier Path and the Supported Verbs of the BOD . Click Next .

Review the configuration and click Finish to generate the New Custom BOD schema .


Downloads
Resources
Online help documentation:
On this page
- Customize Object Schema (BOD, JSON, ANY)