Employee approval of new documents
Business Problem
A new document has been added to Infor Document Management and you would like to send to a reviewer for approval and have that approval reflected on the document. This should be an automated process every time a new document of this type is added.
Components
Requirements
- IDM-User and IONDeskAdmin roles needed
Tutorial
Infor Document Management (IDM) and ION allow you to configure a workflow to automate this process. For a more simplified version of this guide, the Infor Marketplace has this.
1. Creating a Document Type
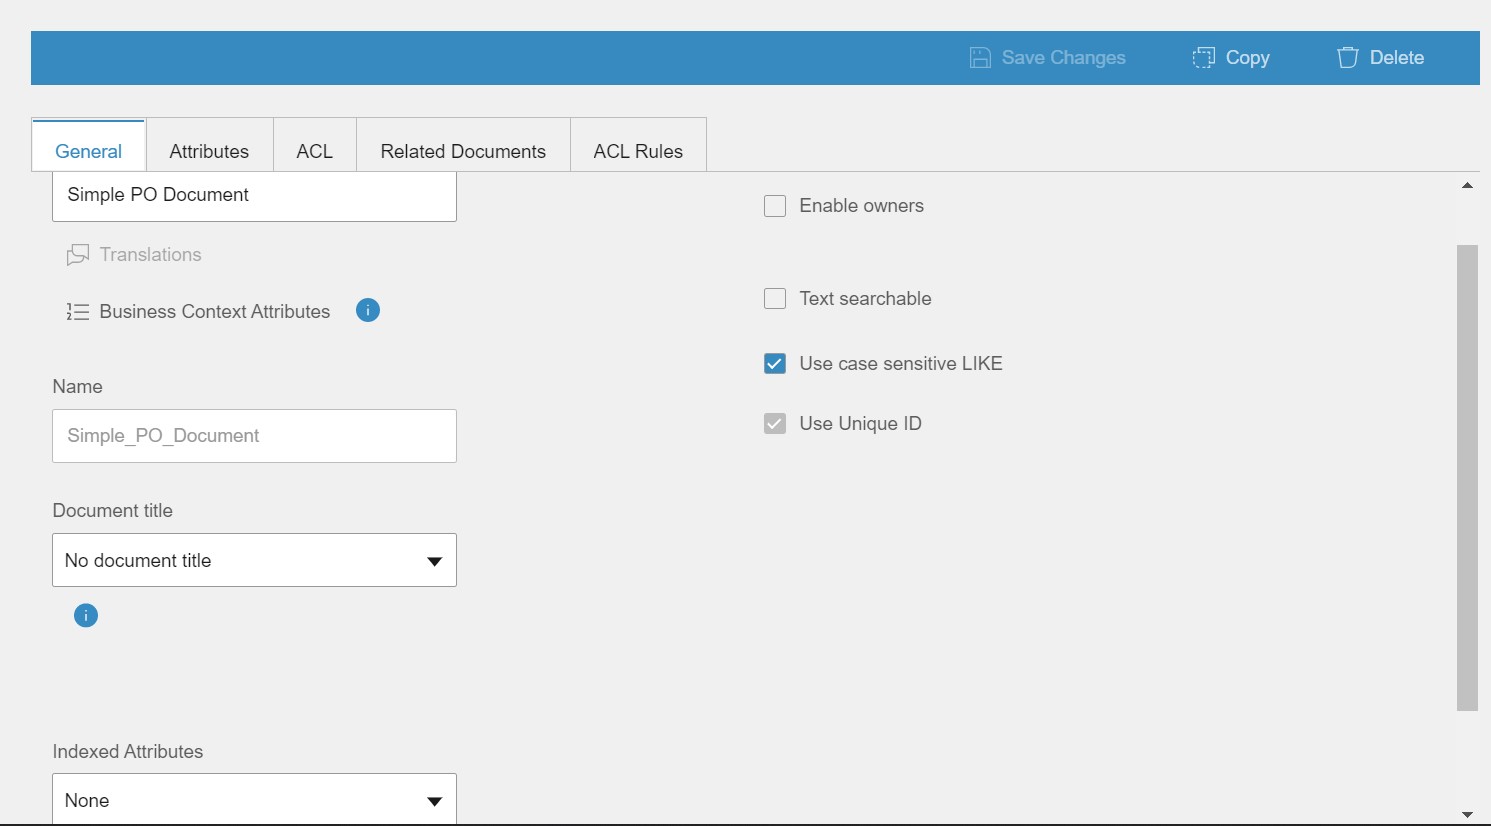
First is creating or choosing a document type. Here, we’ll create one with a specific attribute to keep track of its approval status. Navigate to the Control Center in IDM. From there click Document Type -> + New Document Type -> Input a Display Name -> Next -> + Add Attribute. Configure the Attribute as you please, for example purposes it’ll be named Simple_PO_Status for this tutorial. Click Next, then Done. These are the bare minimum steps, you can certainly go and add other important details for your document type.
2. (Optional) Import Configuration and Workflow
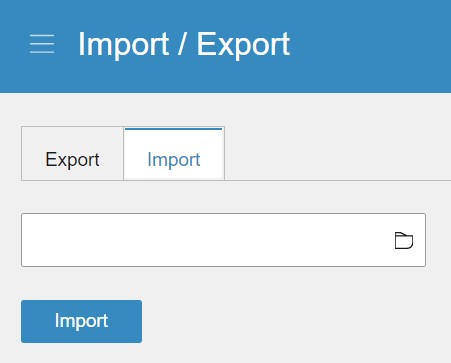
If you’d like to skip the above step, you can import the document type instead. Go to the Control Center -> Import/Export -> Import Tab -> Upload the XML file -> Import. The Infor Marketplace guide linked before has instructions on importing and setting up the workflow.
3. Adding a Workflow
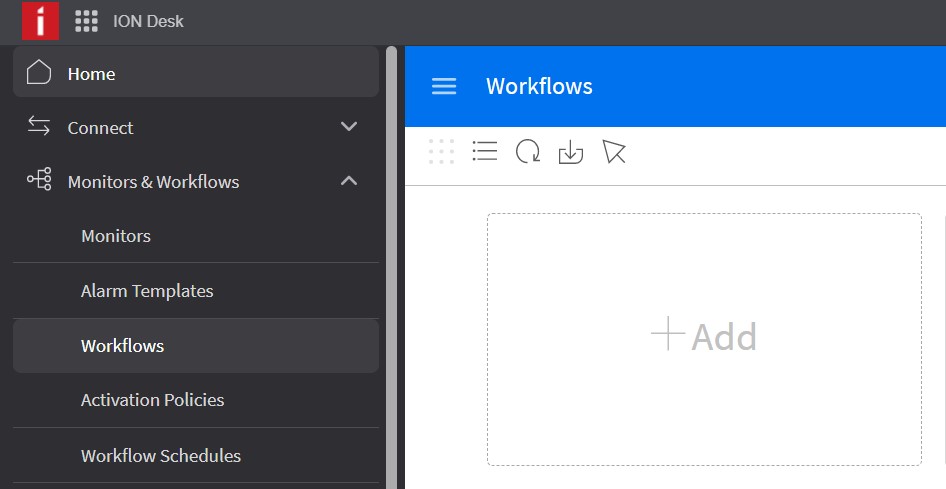
At the top left, click on Navigation menu then click on ION Desk. Click Monitors & Workflows -> Workflows -> + Add.
4. Configuring the Workflow Properties
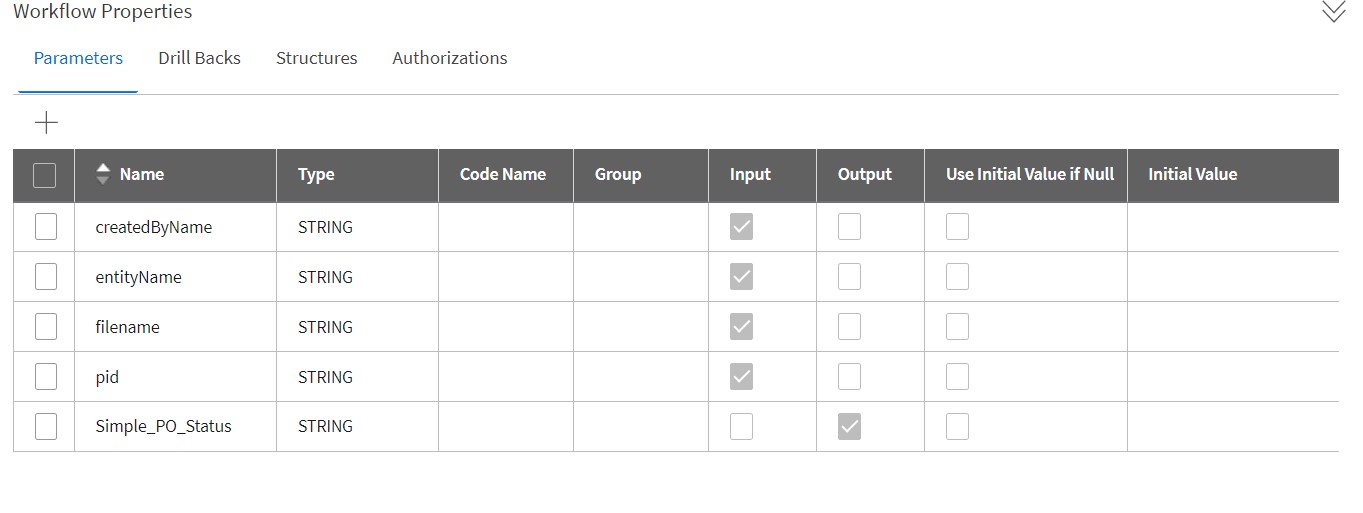
Clicking on Start, you’ll open up the Workflow Properties.
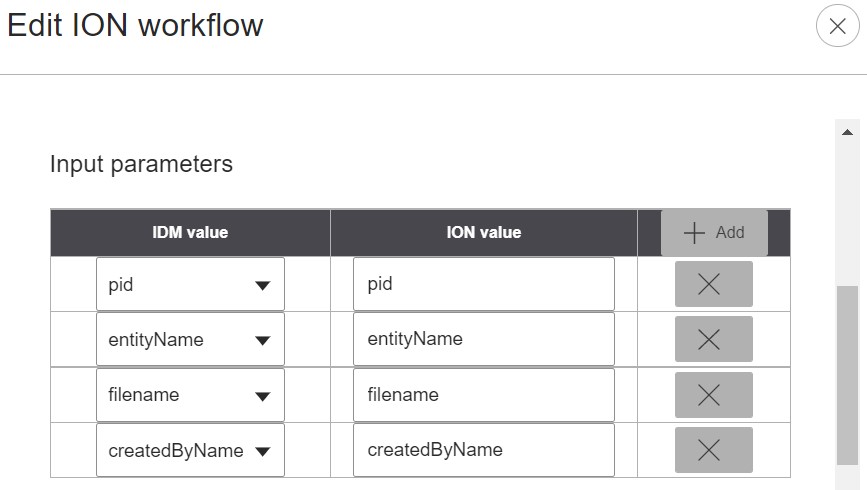
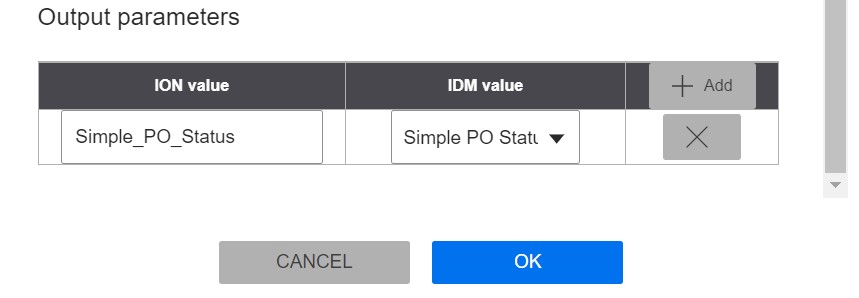
Here you’ll set what attributes from the document you’d like to receive and what you’d like to output. I’ve configured it like so to receive data regarding the document and who created it, and we’ll output later the status of its approval.
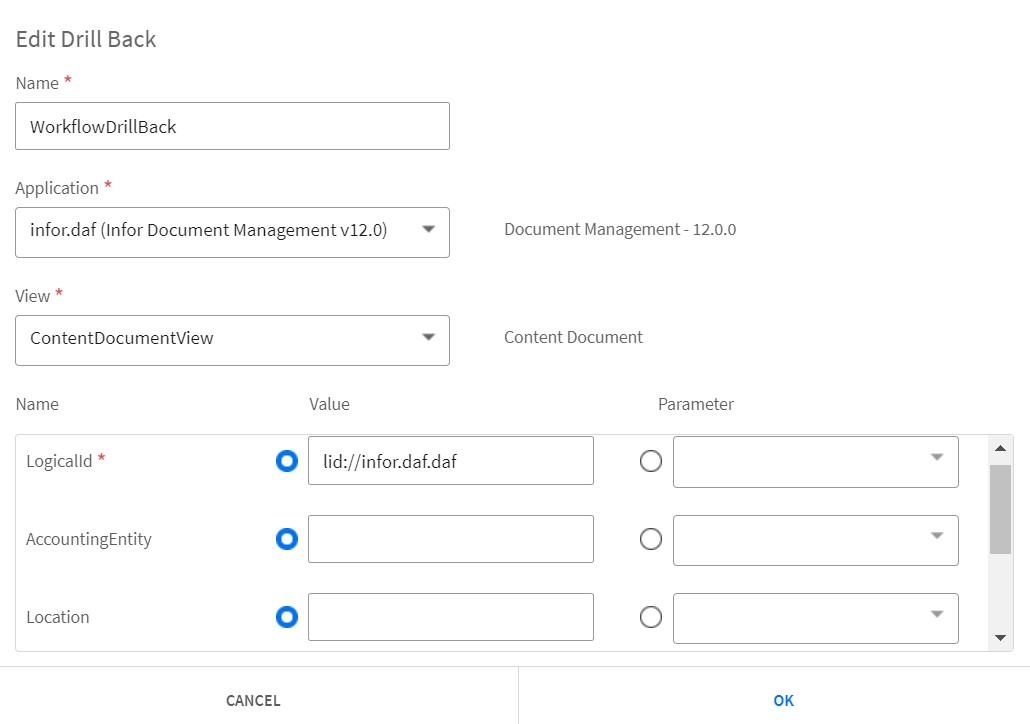
Click on the Drill Backs tab.
Here we’ll configure the ability to link back to the document. This will give the recipient of this workflow the ability to click on a link and be shown the document. For Application and View, choose these values. For LogicalID, you’ll put “lid://infor.daf.daf” and then scroll down and for pid, you’ll click Parameter and choose the pid attribute.
5. Configuring the Approval Task
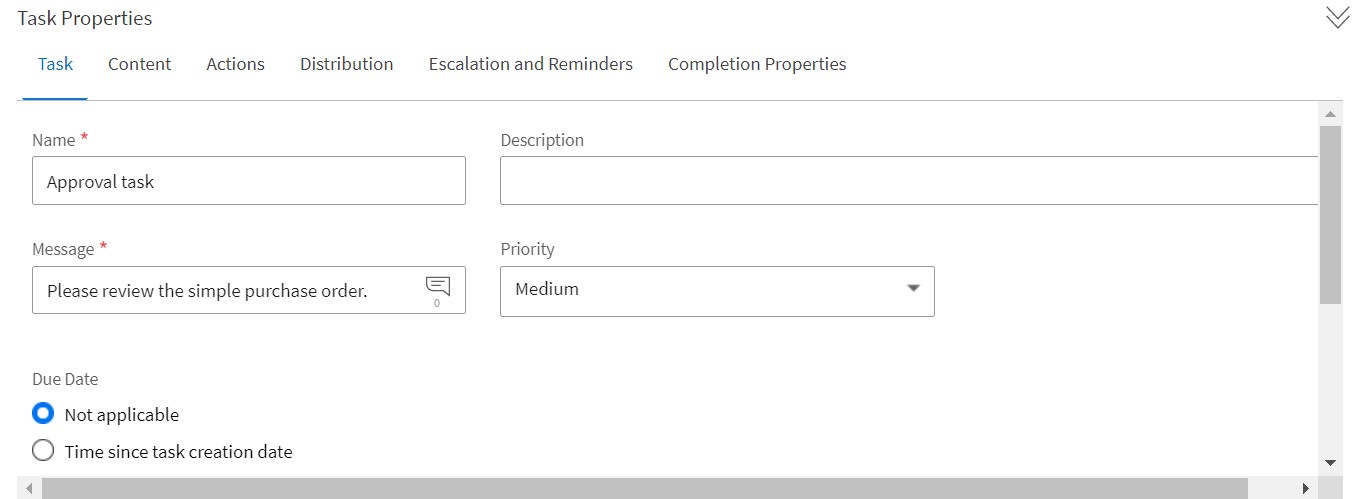
Drag one of the orange Task panes down and connect it to Start.
We’ll call this the Approval task and set up the message that we want the recipient to receive.
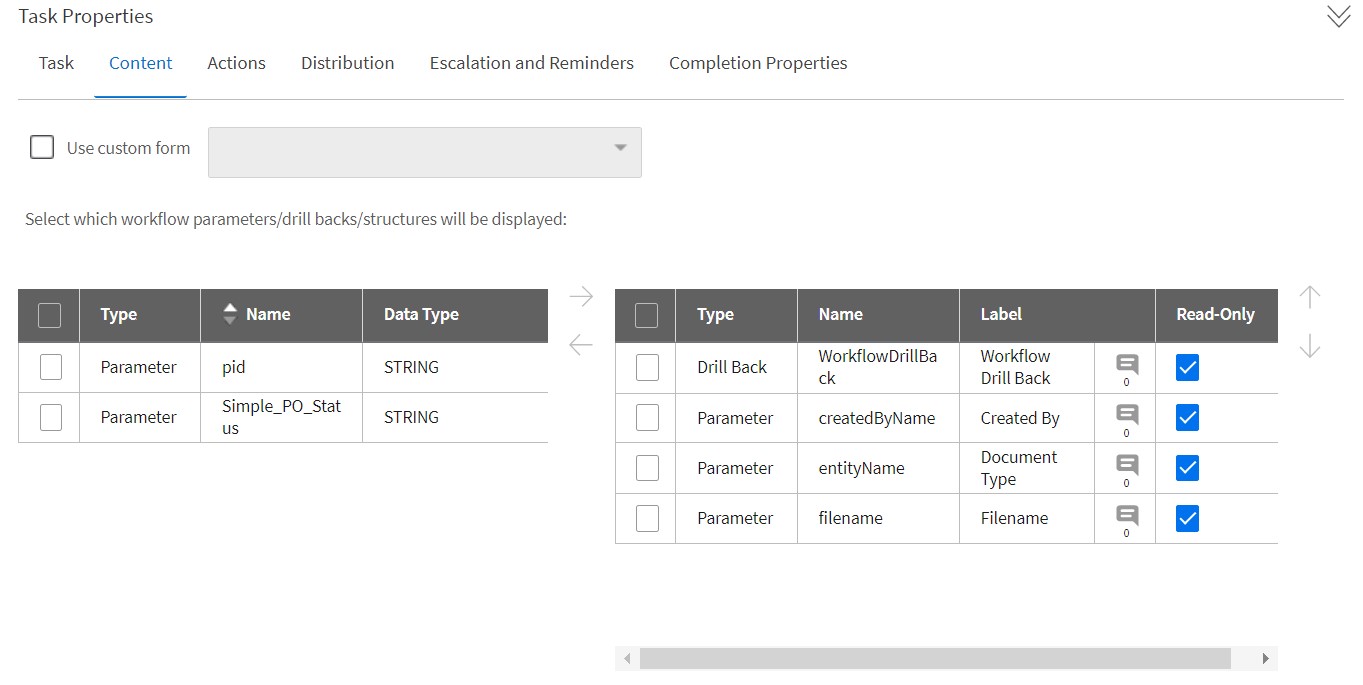
Click on the Content tab.
Here we’ll decide which of the parameters are to be showcased to the recipient of this message. I’ve decided to show who created the document, the document type and filename, along with a drillback link to the document for them to peruse and gain more info.
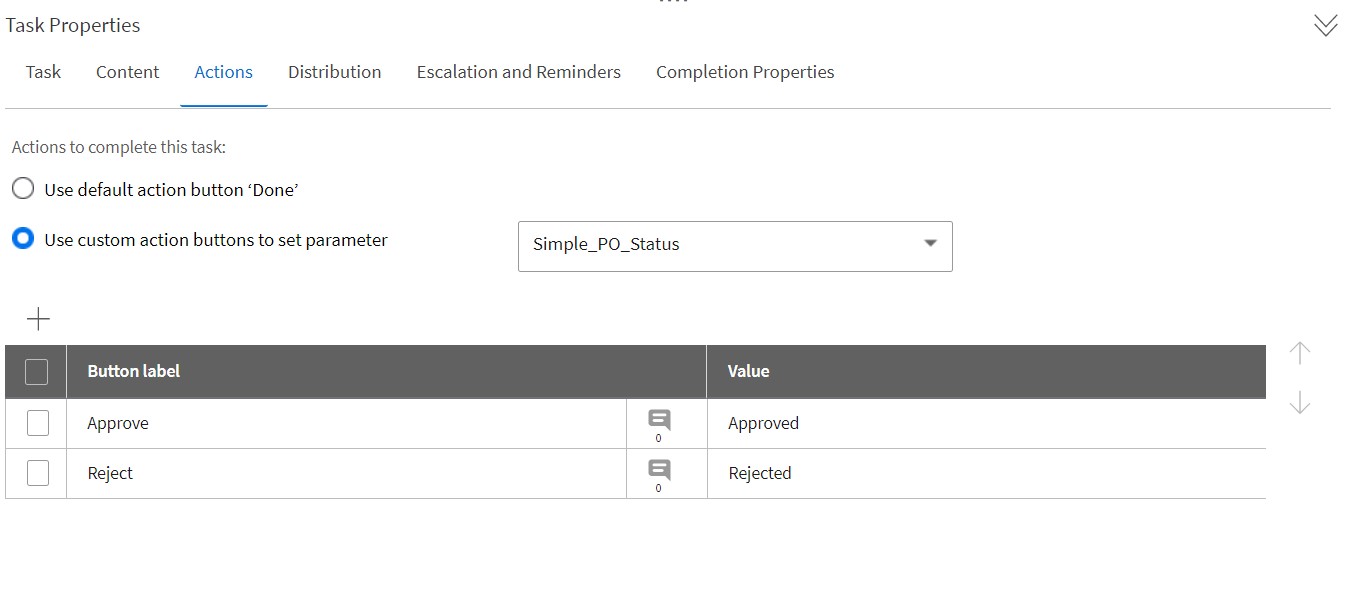
Click on the Actions tab.
Here we’ll set up some custom buttons that will affect the Simple_PO_Status attribute. The button labels are set to Approve and Reject and it’ll change the document attribute to the values we set for each button.
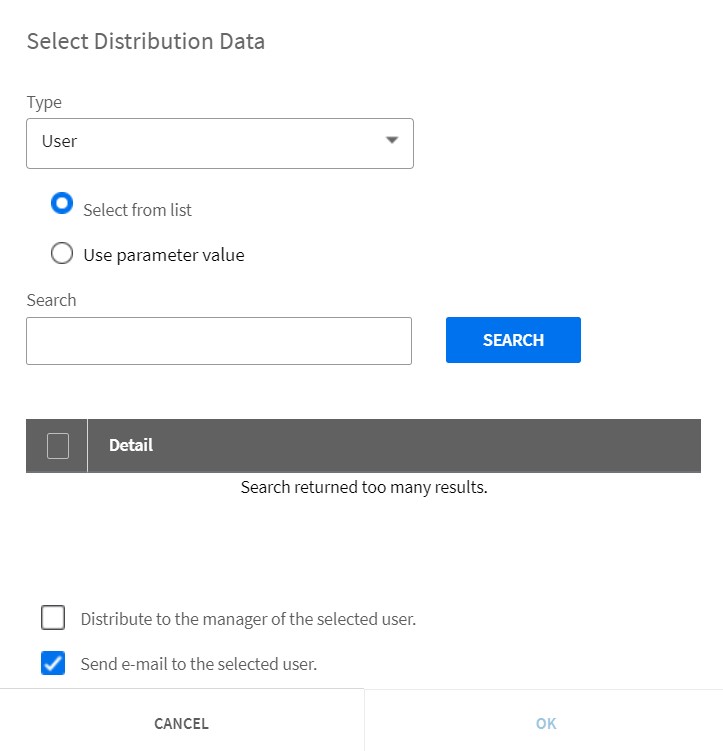
Click on the Distribution tab.
Here we will decide who gets this approval task. You can set a User or a group. I’ve decided to keep it simple and set a user, in which case you’ll just type in the email address of the user or search for them. This will also send them an email notification should you choose to keep that option enabled.
After these steps, all you have to do is save the workflow and then activate it.
6. Enabling ION Configuration
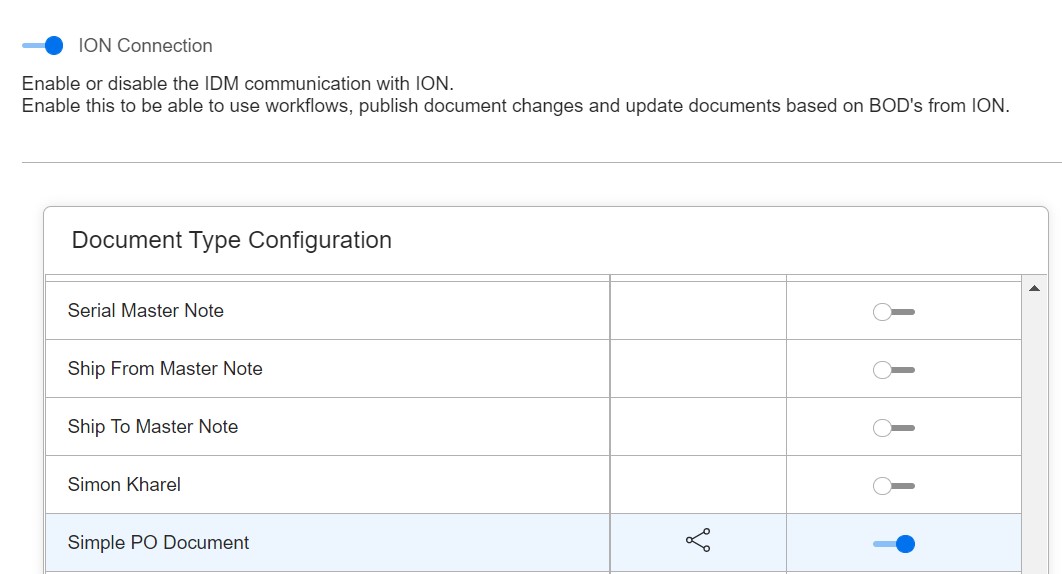
Go to IDM -> Control Center -> Configuration -> ION Configuration, and make sure that ION Connection and your document type are both toggled on like so.
After you click on your document type, at the right click the + button to add a new workflow configuration. This allows you to configure how the ION Workflow and BODs will communicate with IDM, making sure that values line up. Here we’re just setting up the parameters and attributes that we set up in the Workflow Properties step.
7. Triggering the Worfklow
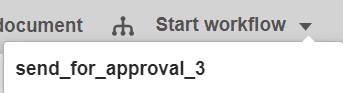
Next is triggering the workflow manually. Upload a document, and at the top right click the drop down arrow for “Start Workflow” and select the workflow you created.
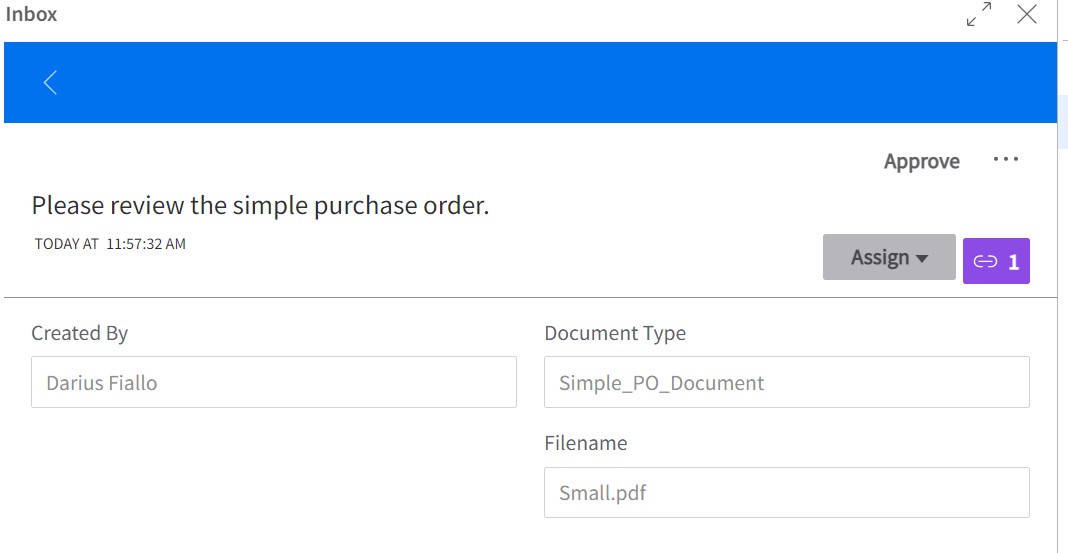
After the document has been sent out, a notification will appear in IDM like this.
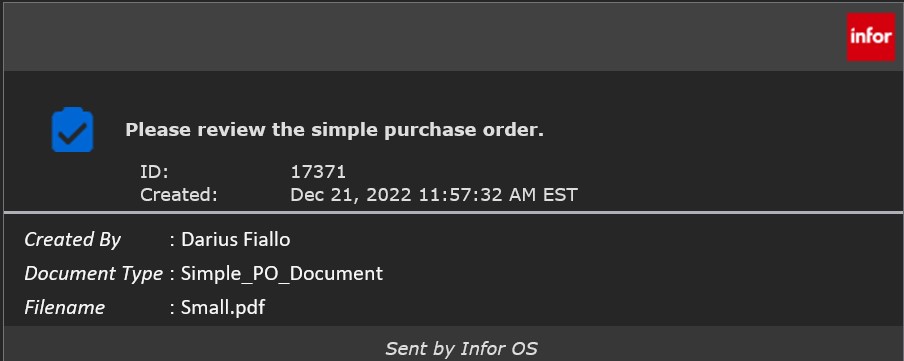
And if you’ve kept the option enabled, an email will also be sent out along with the IDM notification.
Now all that’s left is to hit Approve or Reject, and the document attribute will reflect that decision accordingly.