File Import from IDM Utilities Tool
Beginner | 15 Minutes
Business Problem
Your company is migrating to Infor CloudSuite, which requires transferring all your digital document data from an existing repository to Infor Document Management (IDM).
📋 RequirementsBefore proceeding, ensure you meet the following prerequisites:
|
If Java 11+ is used then JavaFX needs to be installed as well (https://openjfx.io/). The Utilities tool can be started from command line where the “module-path” points to the JavaFX directory:
java -Xms1024m -Xmx1024m –module-path “C:\Program Files\Java\javafx-sdk-11.0.1\lib” –add-modules=javafx.controls,javafx.fxml,javafx.web -jar Utilities-.jar
Tutorial
This solution is specifically for unstructured files without metadata. The metadata/attributes will be added during the upload to IDM.
1
Finding the IDM Utilities Tool
To access the File Import function in IDM:
- Navigate to Control Center.
- Select the Tools tab → Click Utilities → Click Download.
There is extensive documentation available, but this guide focuses on the Bulk Import function.
2
Starting the Tool
Inside the unzipped utilities package, you will find two JAR files. Use the one without “sources” in the filename.
The IDM Utilities tool can be run via the command line or GUI:
- Open the folder where the JAR file is located.
- In the folder address bar, type cmd and press Enter.
- Run the following command to start the tool:
java –jar <ExecutableJarFileName>.jarExample:
java -jar Utilities-2022.08.00-47.20220728T090651Z.jar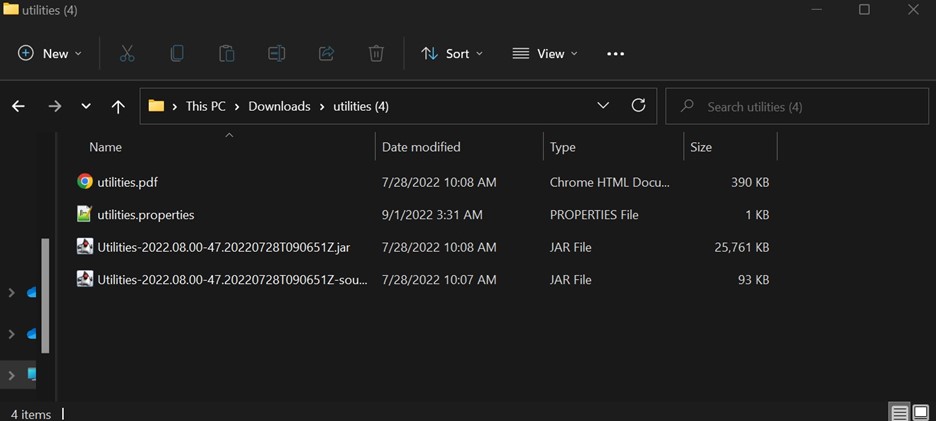
3
Setting Up the IONAPI File
To connect IDM Utilities to your environment, generate an IONAPI file:
- Open Infor ION API.
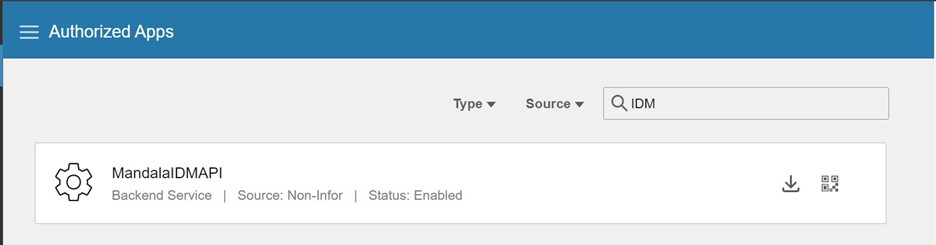
- Click on Authorized Apps.
- In the search bar, type IDM and look for an API labeled "Backend Service".
- Click on it, scroll down to Download Credentials, and click Download.
- Enable Create Service Account, enter your name, and click Download.
4
Running the Tool
Use the JAR command from Step 2 to start the tool. After launching, upload the IONAPI file you generated.
Your screen should look like this:
Configuring the Import:
- File Import Tab → Select Document Type and define the Folder Path.
- Optional: Move processed files to a secondary location.
- The tool will create a folder called
movedFilesin the same directory as the processed files. - If files exist in
movedFiles, they are moved to a new sub-folder "oldFiles_{timestamp}". - Filename Attribute: Defines where the filename should be saved (e.g., MDS_ID).
- Attributes: Set metadata for the document during upload.
Command Line Arguments
You can also run the import directly from the command line using the following arguments:
path | Path to the folder containing files to import |
documentType | Document type to export (e.g., |
acl | Access Control List (ACL) to apply to all documents |
finishedPath | (Optional) Path where processed files should be moved |
filenameAttribute | Attribute where the filename should be saved (e.g., |
Additional attributes | Define metadata values (e.g., |
Example Command:
java –jar <ExecutableJarFileName>.jarExample:
java -jar Utilities-2022.08.00-47.20220728T090651Z.jarOn this page
- File Import from IDM Utilities Tool