Best practices
Using In-Context Applications
IDM’s Business Context Model (BCM) in conjunction with an Infor widget named Related Information allows for linking documents in your repository to objects in your ERP. IDM is often used in conjunction with other Infor applications and properly setting up your BCM can help immensely in productivity.
- Reduced costs: Reduce costs by improving the efficiency of document management. This can be achieved by reducing the time it takes to find and access documents, as well as by reducing the number of duplicate documents.
- Improved compliance: Improve compliance by ensuring that documents are stored in a secure location and that access to documents is controlled.
- Improved functionality: Easily print or email a document along with all of its related documents with just the click of a few buttons.
- Quicker searching: Speed up searching by making it easier to find and access documents. This can help to reduce the time it takes to resolve issues.
- Increased productivity: Increase productivity by making it easier to find and access the information that is needed to complete tasks. This can lead to faster and more efficient completion of tasks.
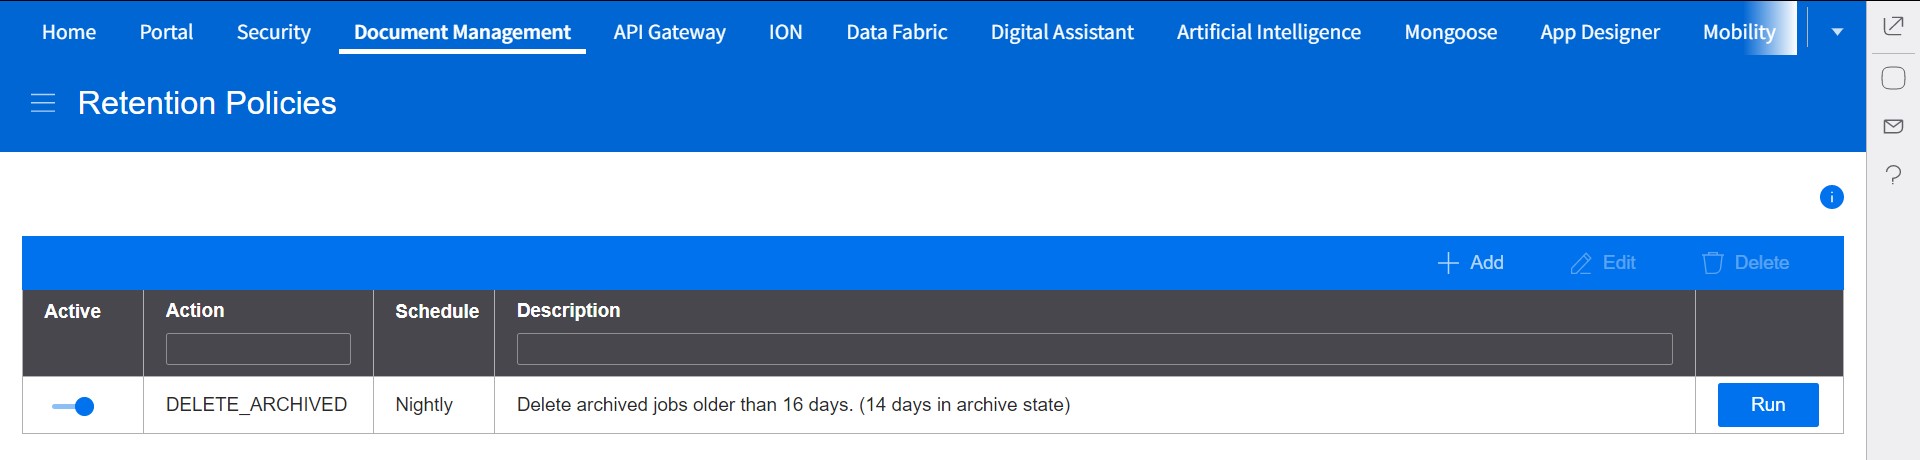
Retention Policies
Document retention policies are important for a number of reasons. They help to ensure that organizations comply with relevant regulations, they protect organizations from legal liability, and they ensure that organizations can access the information they need when they need it.
There are a number of factors that companies should consider when developing document retention policies. These factors include:
- The type of documents that the organization creates and maintains
- The regulatory requirements that apply to the organization
- The legal risks that the organization faces
- The organization’s business needs
Retention policies should be regularly reviewed and updated to ensure that they remain effective. Businesses should also implement procedures to ensure that retention policies are followed.
Here are some of the benefits of having a document retention policy:
- Compliance: Document retention policies help organizations to comply with relevant regulations.
- Litigation protection: Retention policies can help companies to protect themselves from legal liability.
- Efficiency: Retention policies can help businesses be more efficient. By having a policy in place, organizations can avoid the time and expense of searching for and retrieving documents that are no longer needed.
- Cost savings: Retention policies can help organizations to save money. By having a policy in place, organizations can avoid the cost of storing and maintaining documents that are no longer needed.
Access Control Lists
Access control lists (ACLs) are an important part of any document management system. They allow your organization to control who has access to documents and what they can do with them. This helps to protect sensitive information and ensure that documents are only accessed by authorized users.
There are a number of benefits to using ACLs in document management. These benefits include:
- Increased security: ACLs help to protect sensitive information from unauthorized access. This is important for handling confidential or regulated information.
- Improved compliance: ACLs can help organizations to comply with regulatory requirements. For example, the Health Insurance Portability and Accountability Act (HIPAA) requires healthcare organizations to implement security measures to protect patient health information.
- Reduced risk: ACLs can help to reduce the risk of data breaches and other security incidents. This is because they limit the number of people who have access to sensitive information.
- Increased efficiency: ACLs can help to improve efficiency by making it easier to find and access documents. This is because users only need to be granted access to the documents that they need.
- Improved collaboration: ACLs can help to improve collaboration by making it easier for users to share documents with each other. This is because users can be granted access to documents that they need to collaborate on.
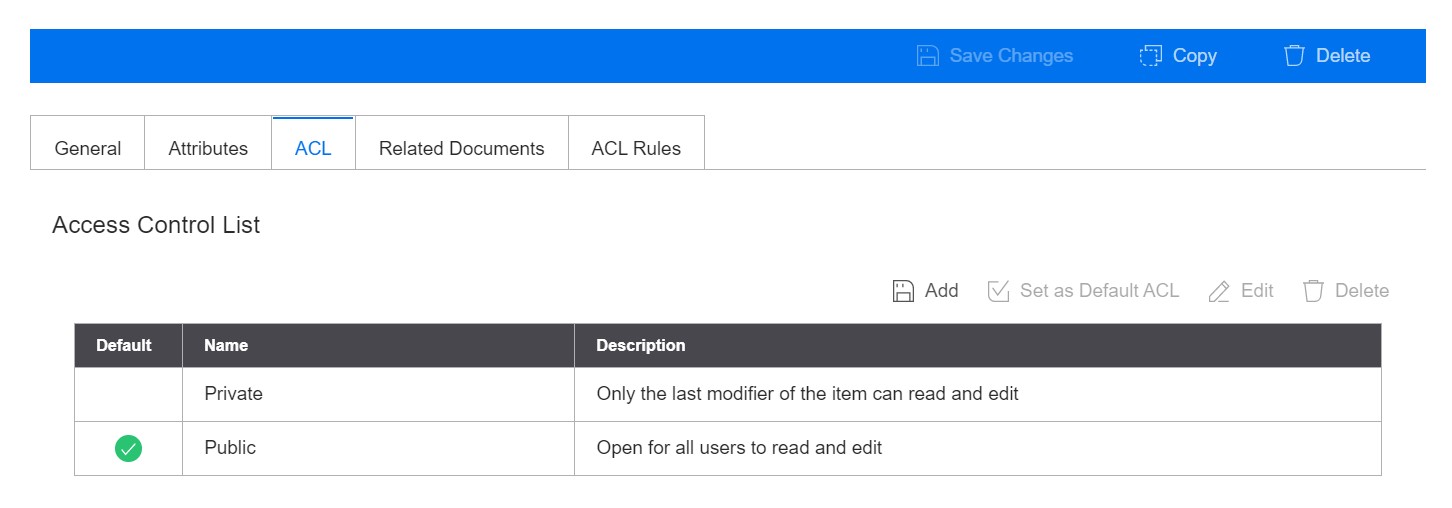
IDM allows the ability to create custom ACLs for your document types.
These best practices offer essential guidance to enhance your processes. For a personalized and thorough implementation tailored to your needs, reach out to Infor Professional Services. Their expertise ensures optimal results for your unique challenges.
On this page
- Best practices