Getting started with RPA: Installation, basic flows, and publishing
Intermediate | 60 Minutes
Overview
This tutorial will guide you through the complete process of getting started with Infor RPA, from installation through creating your first automated workflow and publishing it for others to use. You'll learn to install RPA Studio and RPA Assistant, create a simple web automation flow that captures screenshots, and publish the flow for distribution. Manual, repetitive tasks like taking screenshots of web pages, downloading files, or filling out forms can consume significant time and are prone to human error. Organizations often need to automate these processes but lack systems with APIs or integration points. Robotic Process Automation (RPA) solves this by simulating human interactions with applications through mouse clicks, keyboard inputs, and screen navigation. This tutorial demonstrates RPA's value by creating a simple automation that opens a web browser, navigates to pages, and saves PDF screenshots automatically - a task that would normally require manual intervention for each execution.
📋 Requirements
|
Tutorial
1
Download RPA Installer and Credentials
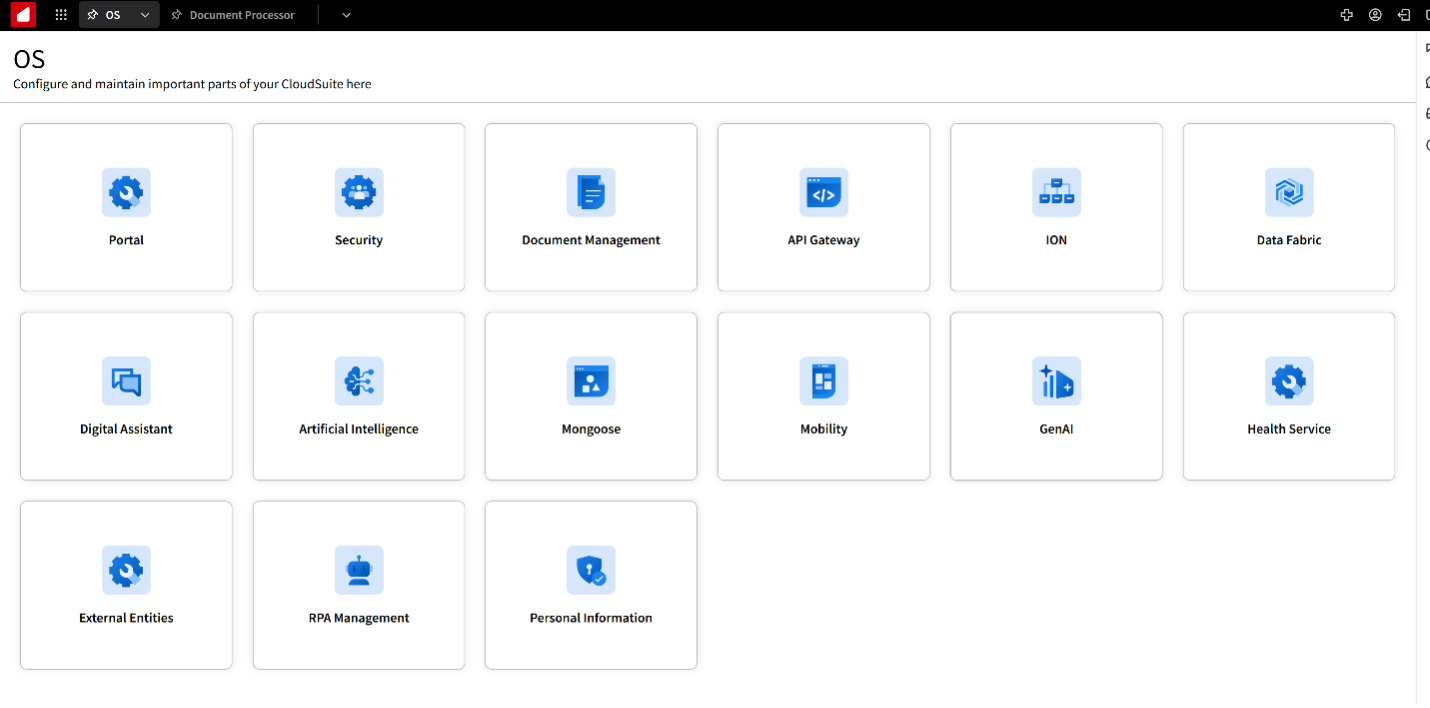
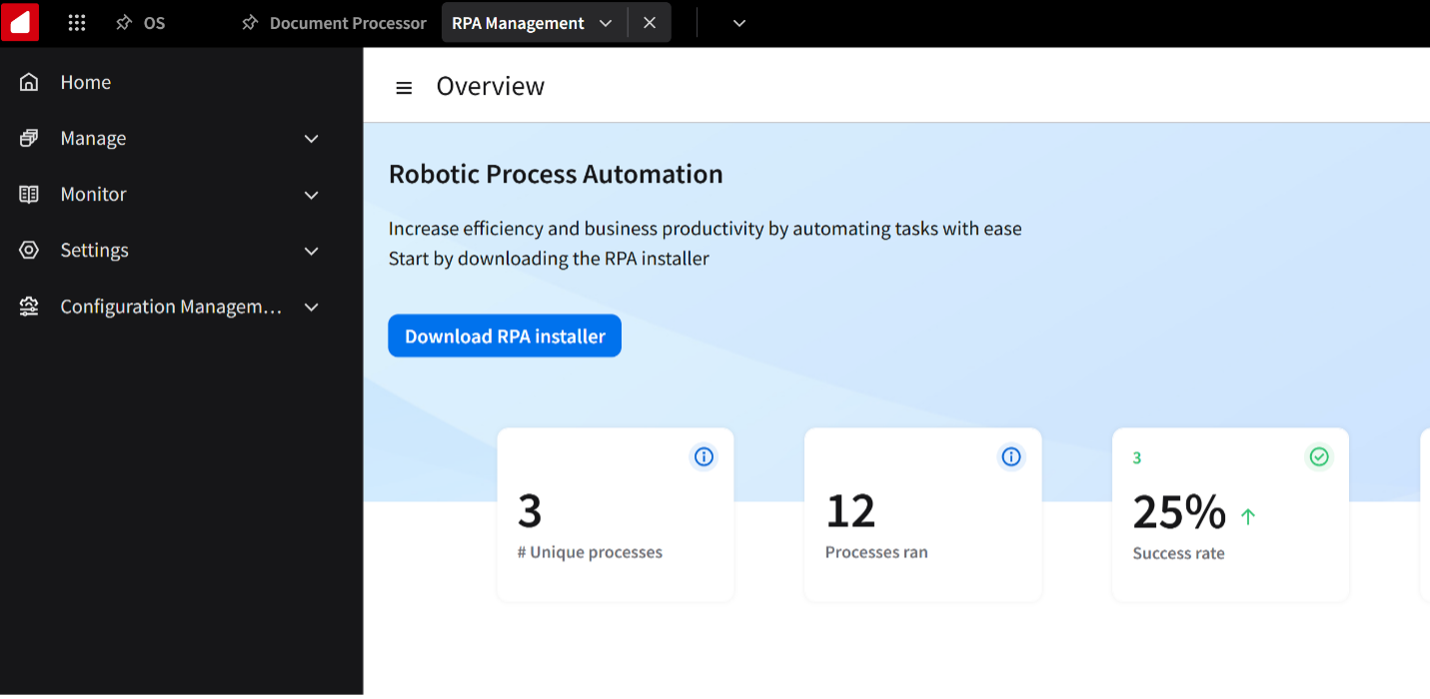
Navigate to your Infor OS landing page and access RPA Management. If you don't see RPA Management, contact your system administrator to assign the RPA User role.
Click Download to obtain the RPA Studio installer (approximately 300MB file).
Next, go to API Gateway from your Infor OS homepage. Navigate to Authorized Apps and locate the following applications with "Infor" as the source:
- Infor RPA Studio
- RPA Tray Assistant
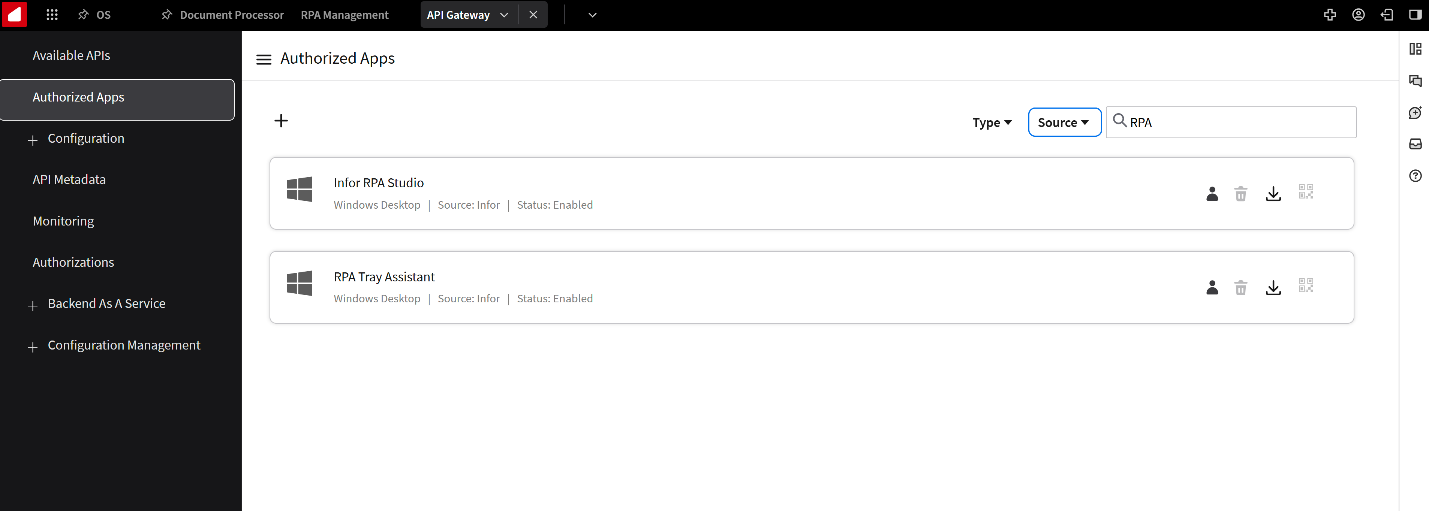
Download the ION API credential files for both applications. These files authenticate your RPA tools with your tenant.
2
Install RPA Studio
Locate and run the downloaded RPA Studio installer (.exe file). During installation, you'll see configuration options, click next and accept defaults until you arrive at the Select Features page:
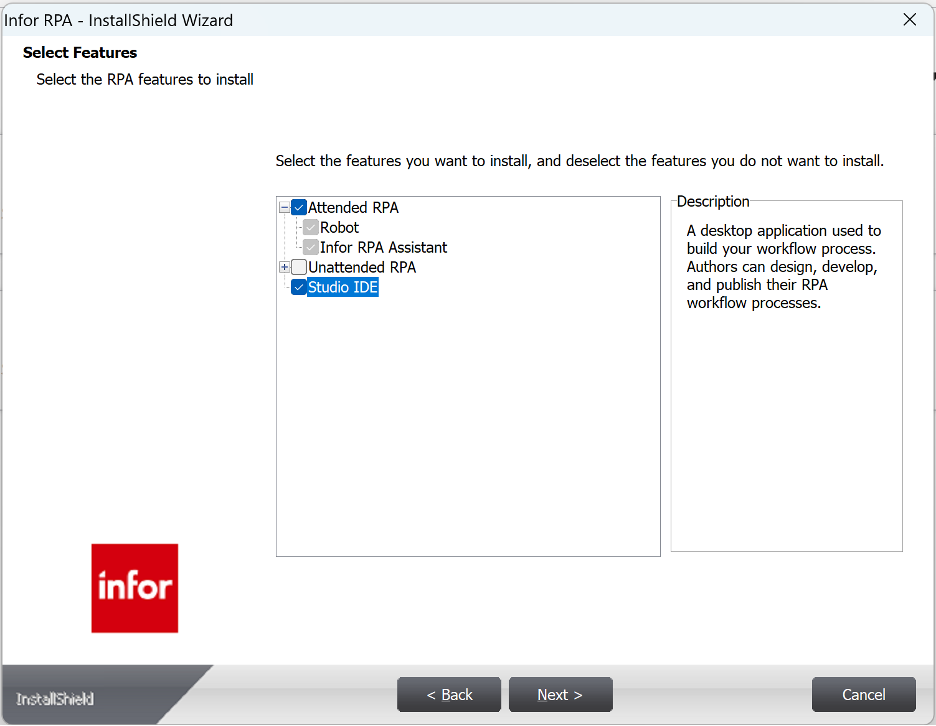
Select the following components:
• Attended (allows supervised automation execution) • Studio IDE (design interface for creating flows)
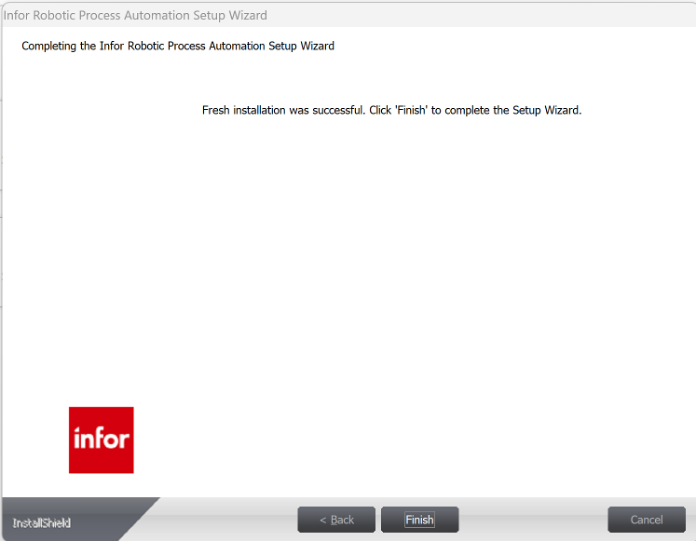
Finally click Next and the Install. When done restart your computer.
3
Install and configure RPA assistant
The RPA Assistant installs automatically with the attended option. After installation completes:
- Search for "Infor RPA Studio" in your Start menu and launch the application
- Search for "RPA Assistant" and launch it as well
4
Set up RPA Studio profile
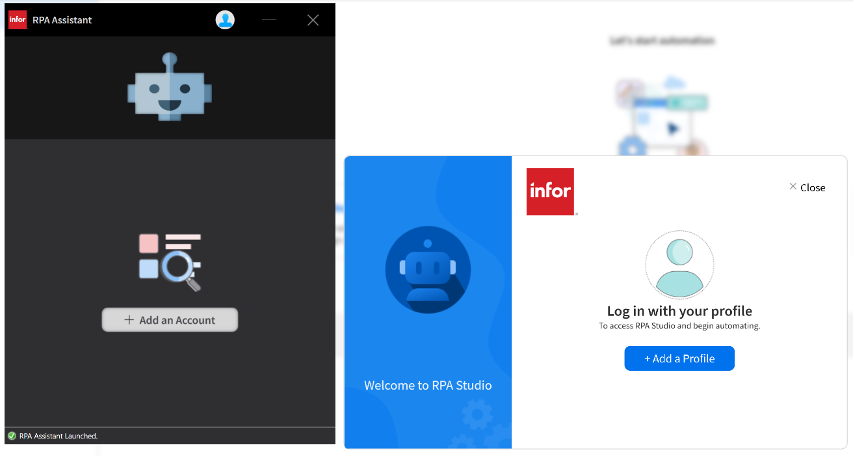
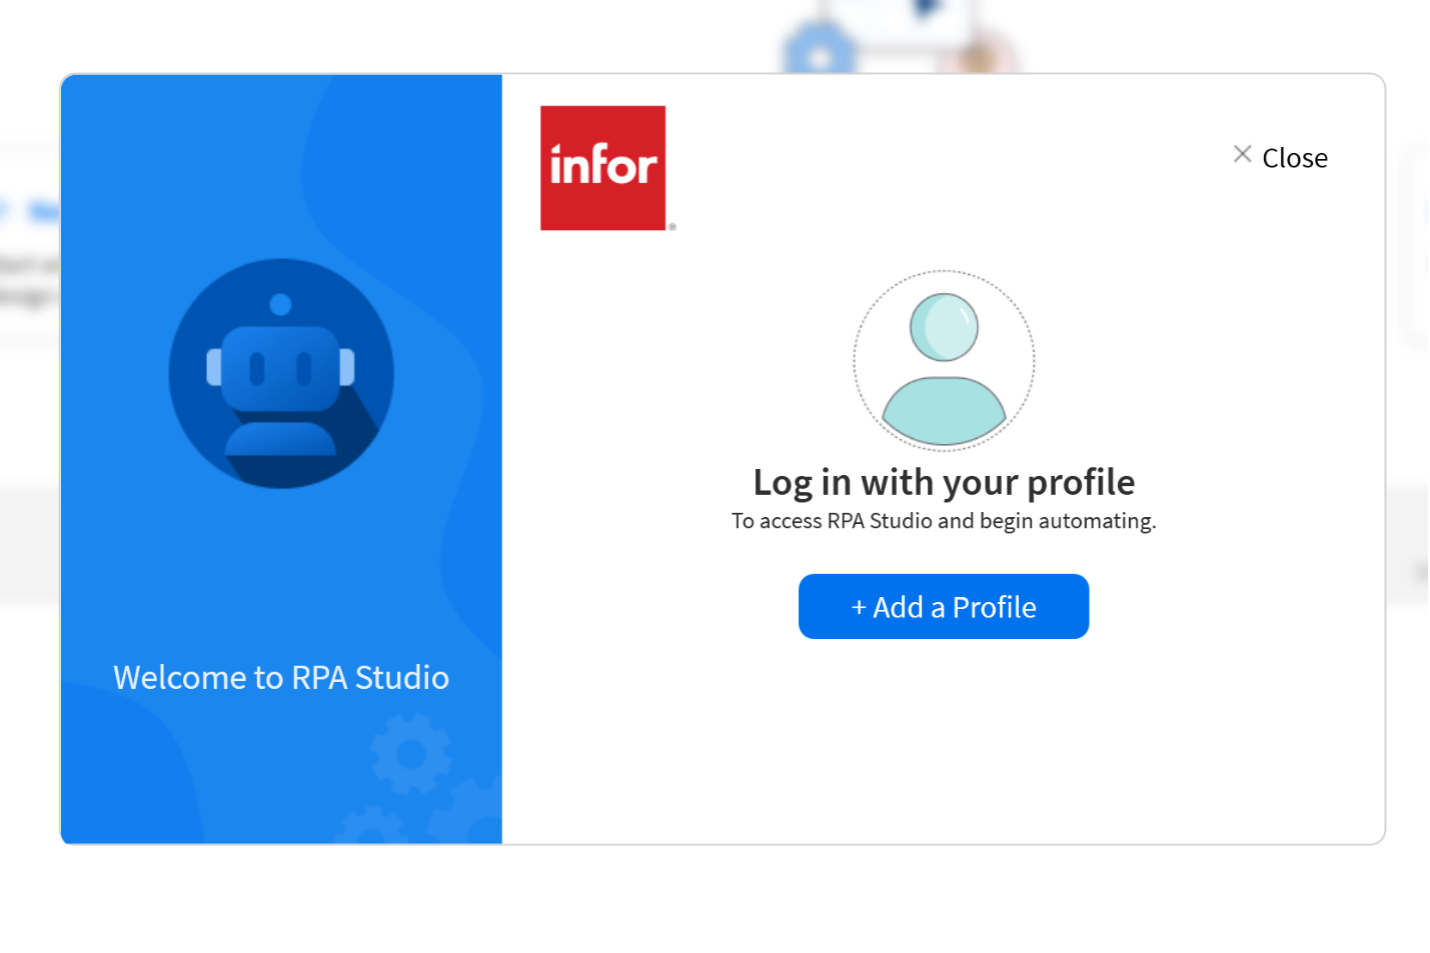
When RPA Studio opens, you'll see an "Add Profile" option:
Click Add Profile, browse and select the “Infor RPA Studio.IONAPI” credential file you downloaded and select open, then click Connect.
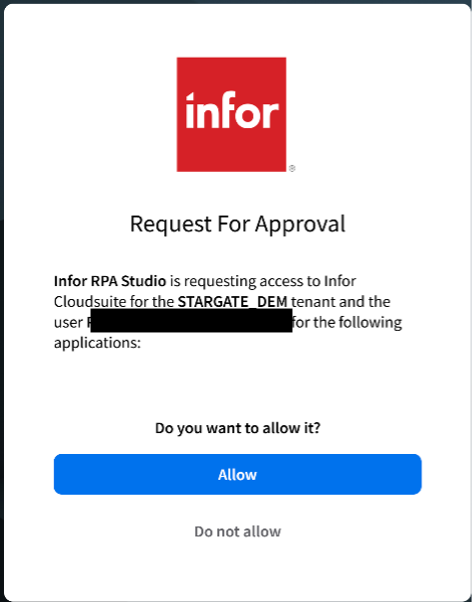
If you're not signed into your tenant, a browser window will open requesting authentication. Sign in with your Infor credentials and approve the connection.
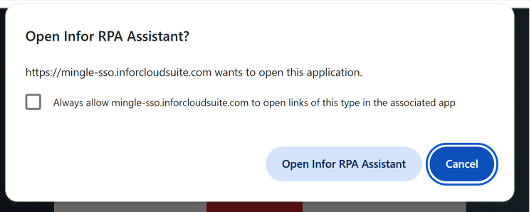
If you are signed in a pop-up will appear (see below), Click Allow
5
Configure RPA assistant
In RPA Assistant: In RPA Assistant, click Add an Account and select the RPA Tray Assistant.IONAPI credential file. Then, double-click the profile entry to authenticate (there is no visible "Connect" button).
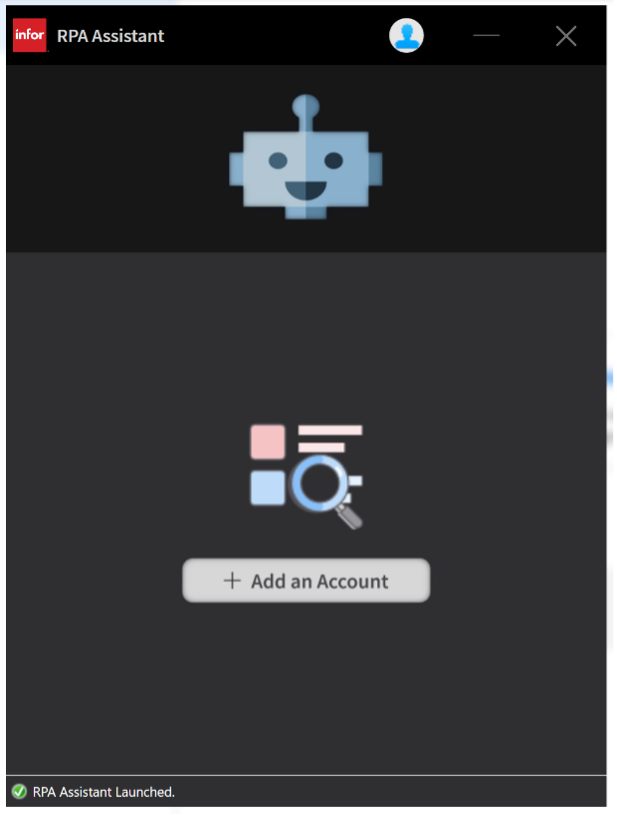
The assistant will open a browser for authentication. Complete the sign-in process again. If you are signed in a pop-up will appear, Click Allow. Then from the pop-up click “Open Infor RPA Assistant”
6
Create a new project
In RPA Studio, click New Project and configure: • Name: Web Screenshot Automation • Project Location: (keep default) • Description: Automates web page navigation and PDF capture • Language: VB (default)

Click Create to initialize your project.
7
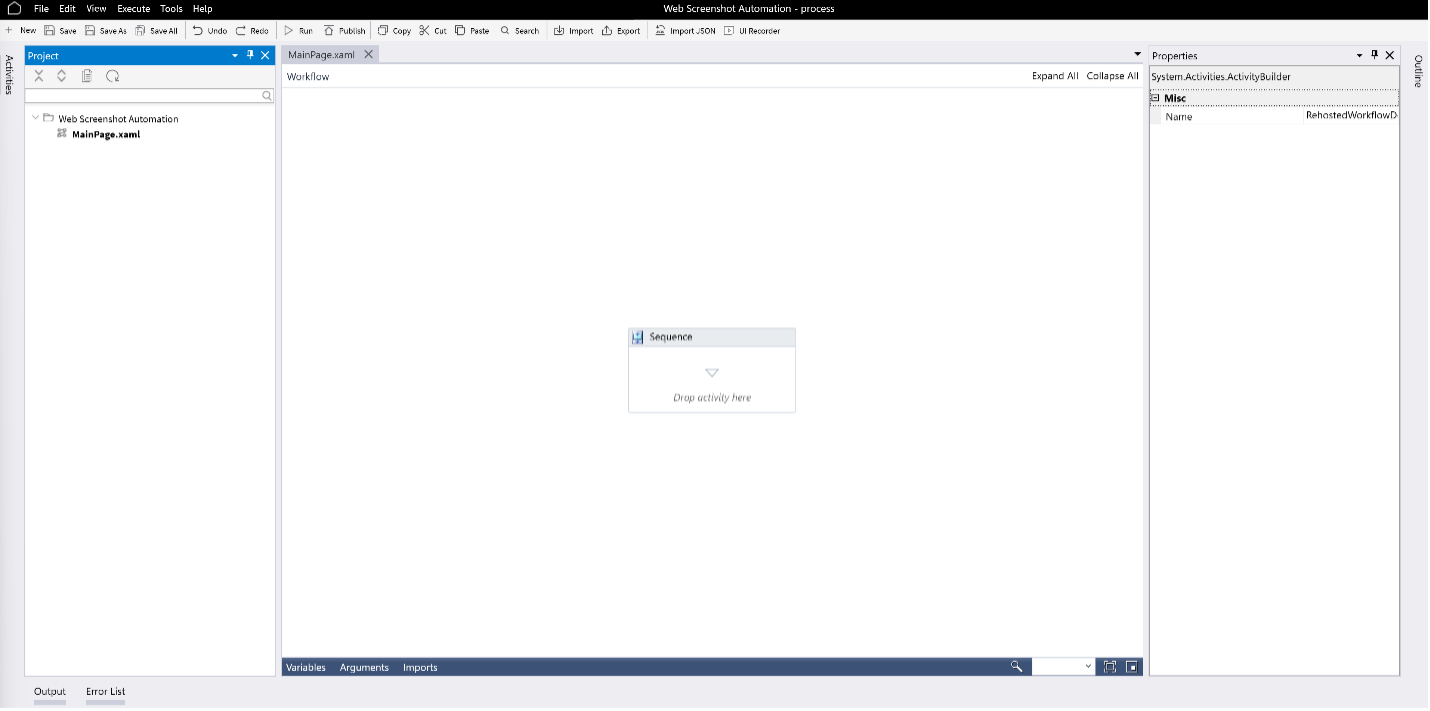
Build the automation sequence
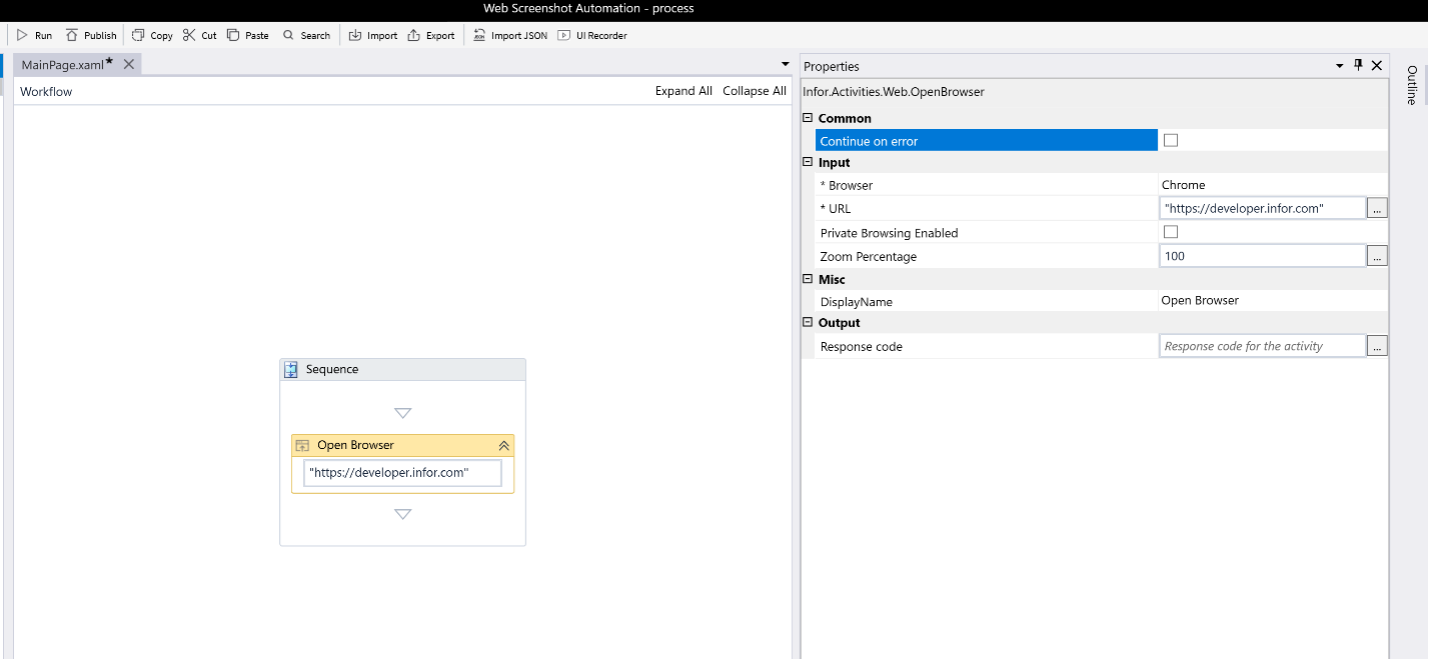
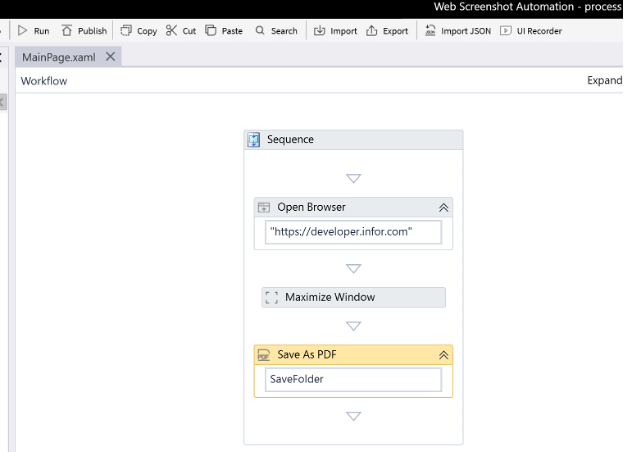
Your project opens with a Sequence container. This is where you'll add automation activities.
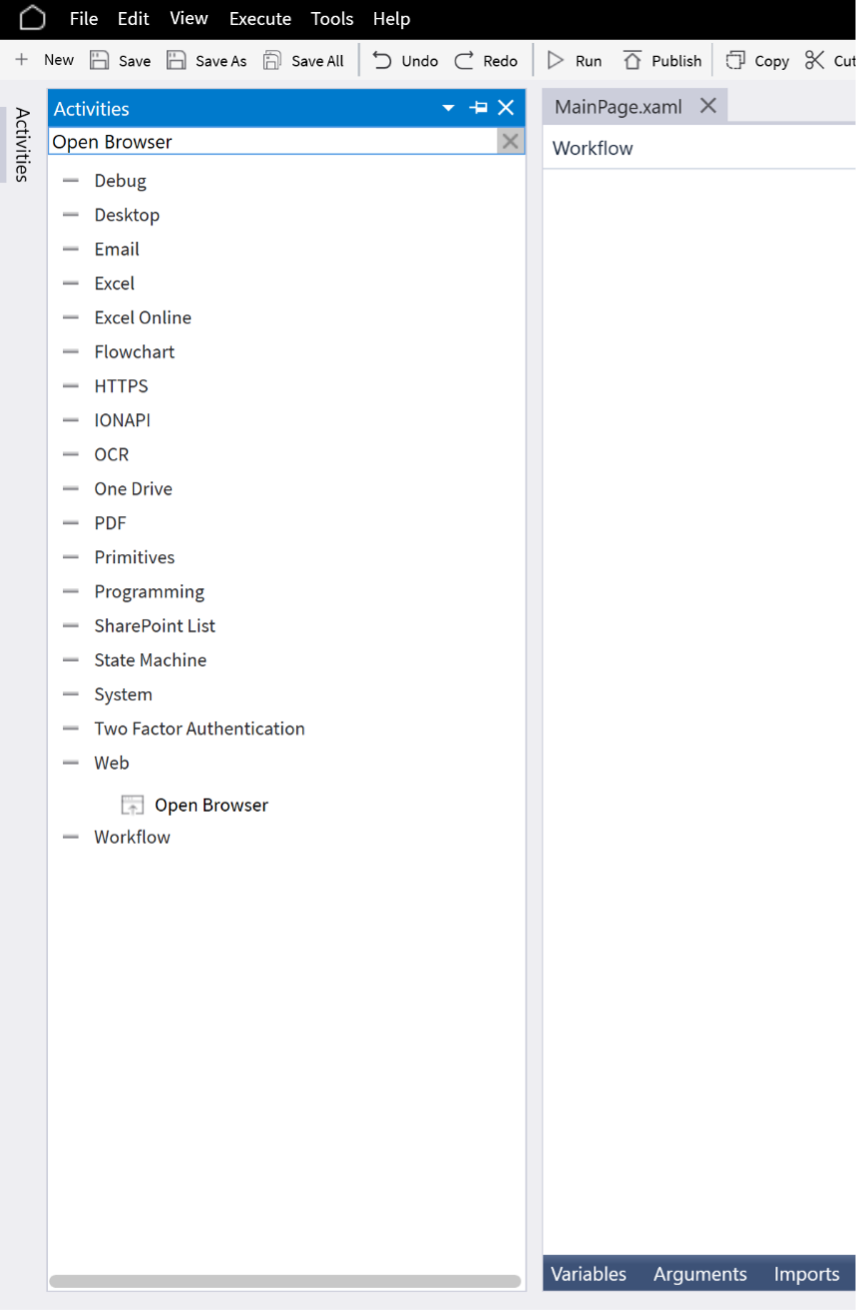
Add browser navigation
- In the Activities panel, search for "Open Browser"
- Drag Open Browser into the sequence
- Configure the properties: • URL: "https://developer.infor.com" (include quotes) • Browser: Chrome or Edge • Continue on Error: Uncheck this option
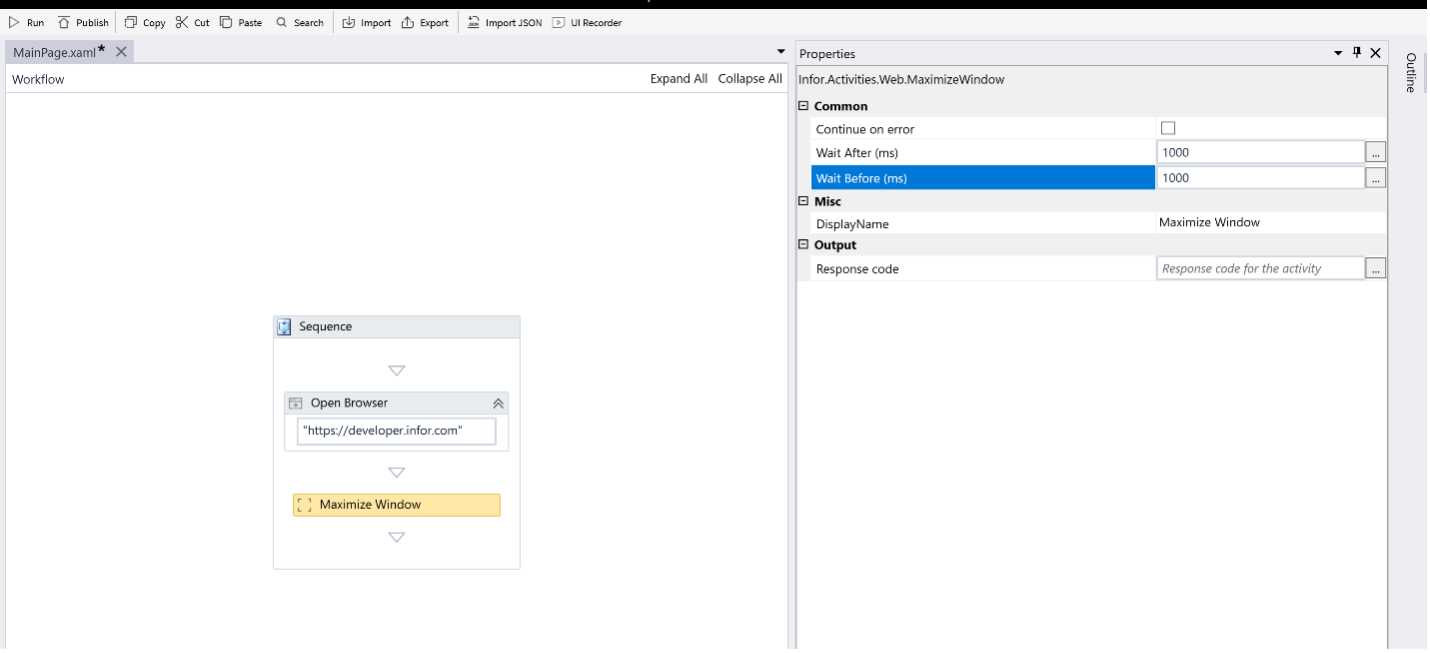
- Search for "Maximize Window" in Activities
- Drag it below the Open Browser activity
- Configure: • Continue on Error: Uncheck • Before: 1000 (1 second wait) • After: 1000 (1 second wait)
8
Create arguments for file management
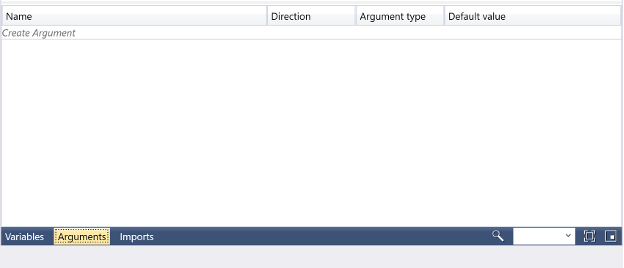
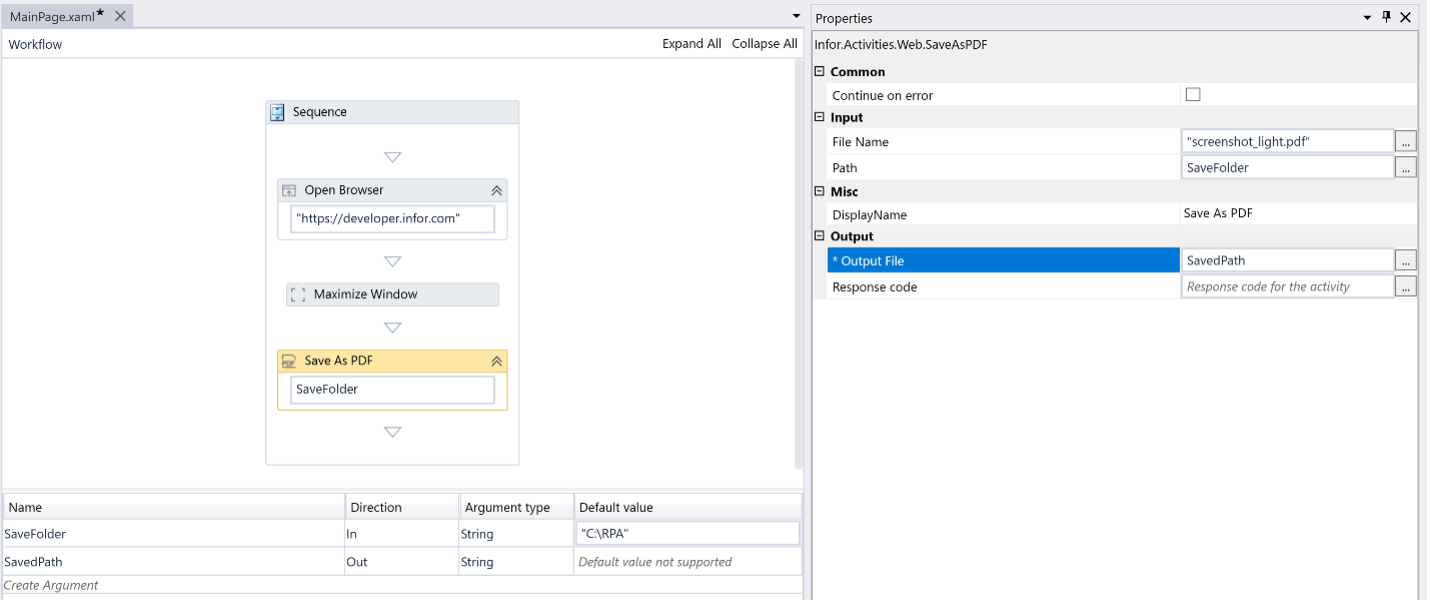
Click on the Arguments tab at the bottom of the screen:
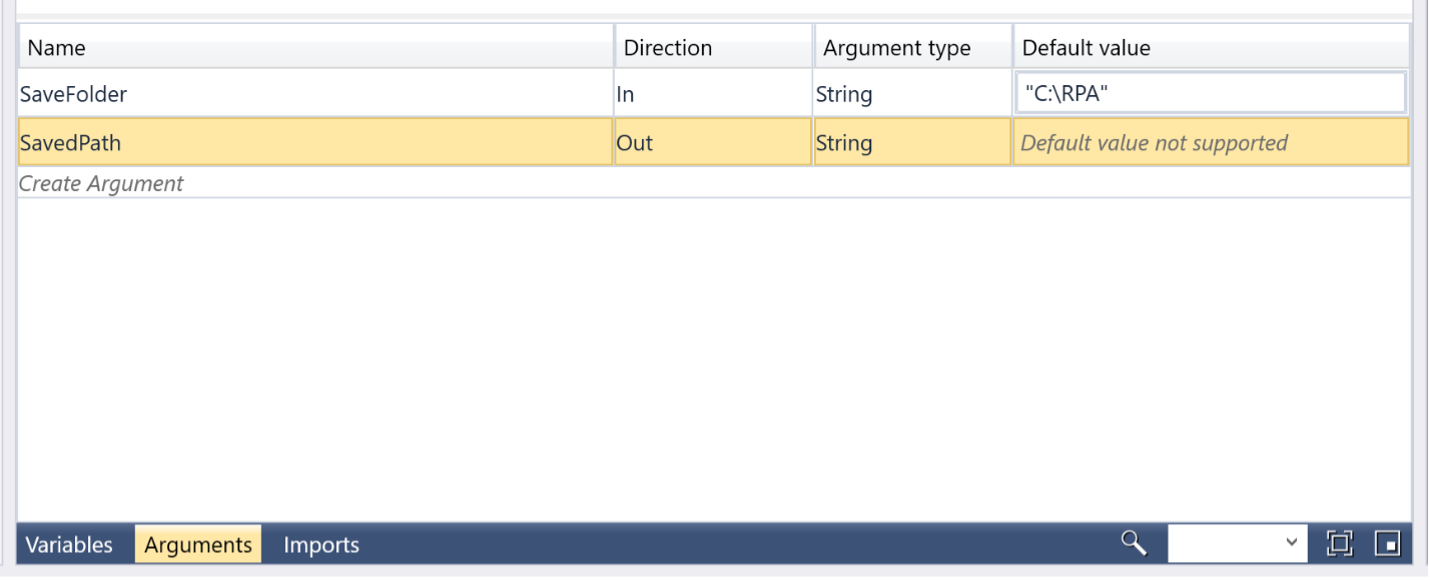
Create two arguments: Note: If the C:\RPA folder doesn't exist on your system, create it now using File Explorer before proceeding with the tutorial. Argument 1: • Name: SaveFolder • Direction: In • Argument Type: String • Default Value: "C:\RPA" (use quotes for this input argument) Argument 2: • Name: SavedPath • Direction: Out • Argument Type: String • Default Value: (leave empty)
9
Add PDF save functionality
- Search for "Save as PDF" in Activities
- Drag it into the sequence after Maximize Window
- Configure properties: • Continue on Error: Uncheck • File Name: "screenshot_light.pdf" • Path: Start typing "SaveFolder" and it will appear in the dropdown list. Use the arrow keys to highlight it if it's not already selected, then press Enter to confirm the selection. Do not click on the dropdown item as this may clear your input. • Output: Start typing SavedPath and select it from the dropdown
10
Test basic flow
Save your project (Ctrl+S) and click Run to test the current automation.
The automation should: The automation should open a browser window, navigate to the developer portal, maximize the window, save a PDF screenshot, and close the browser. Verify the PDF was created in your C:\RPA folder.
11
Add interactive web element
To demonstrate clicking web elements, you'll add functionality to click the "Tutorials" link and capture another screenshot. Identify the web element
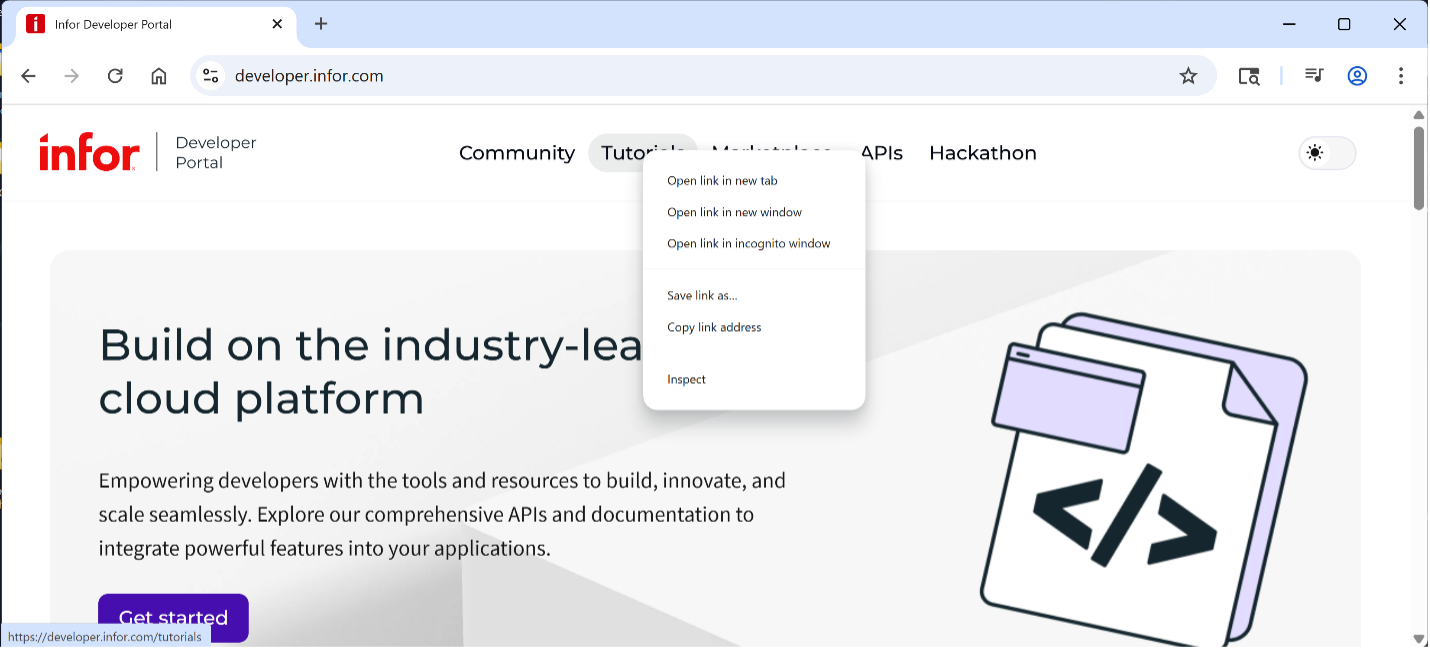
- In your Chrome browser, navigate to https://developer.infor.com
- Right-click on the "Tutorials" link in the navigation
- Select "Inspect" from the context menu
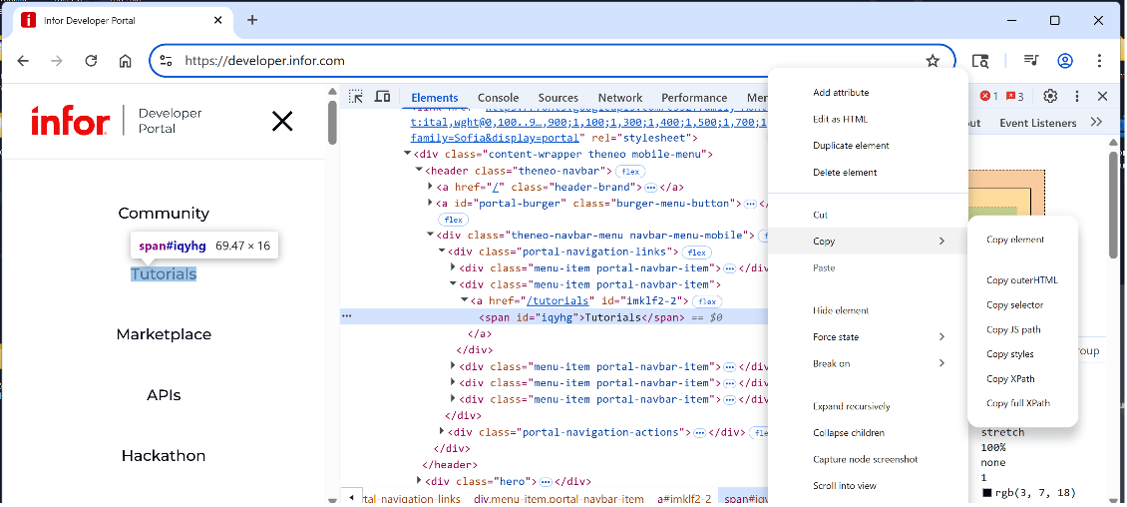
4. In the developer tools, right-click on the highlighted HTML element
5. Select Copy → Copy Full XPath
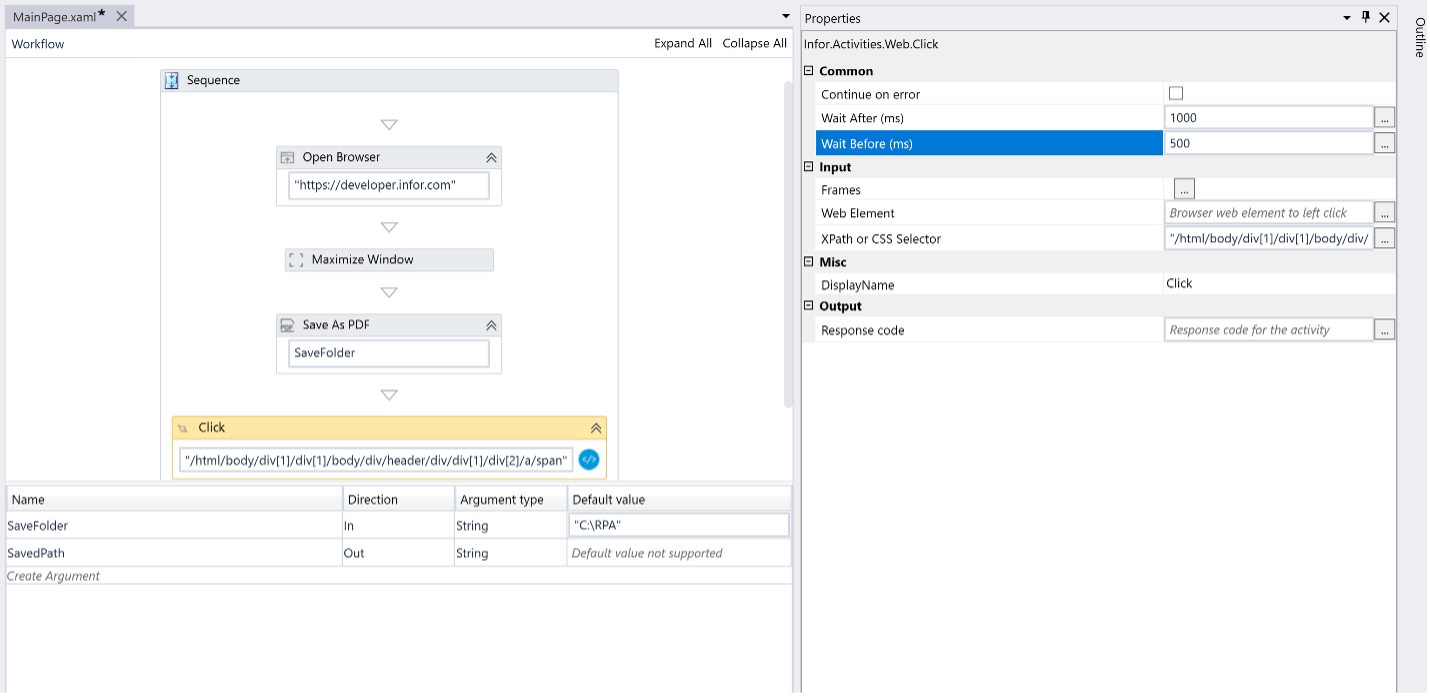
Add click activity
- In RPA Studio, search for "Click" under Web activities
- Drag Click activity after the Save as PDF step
- In properties - Configure: • Continue on Error: Uncheck • Wait After: 1000 (wait for page load) • Wait Before: 500 (wait time) • XPath: Paste the copied Full XPath in quotes” It will automatically populate the new Click activity.
12
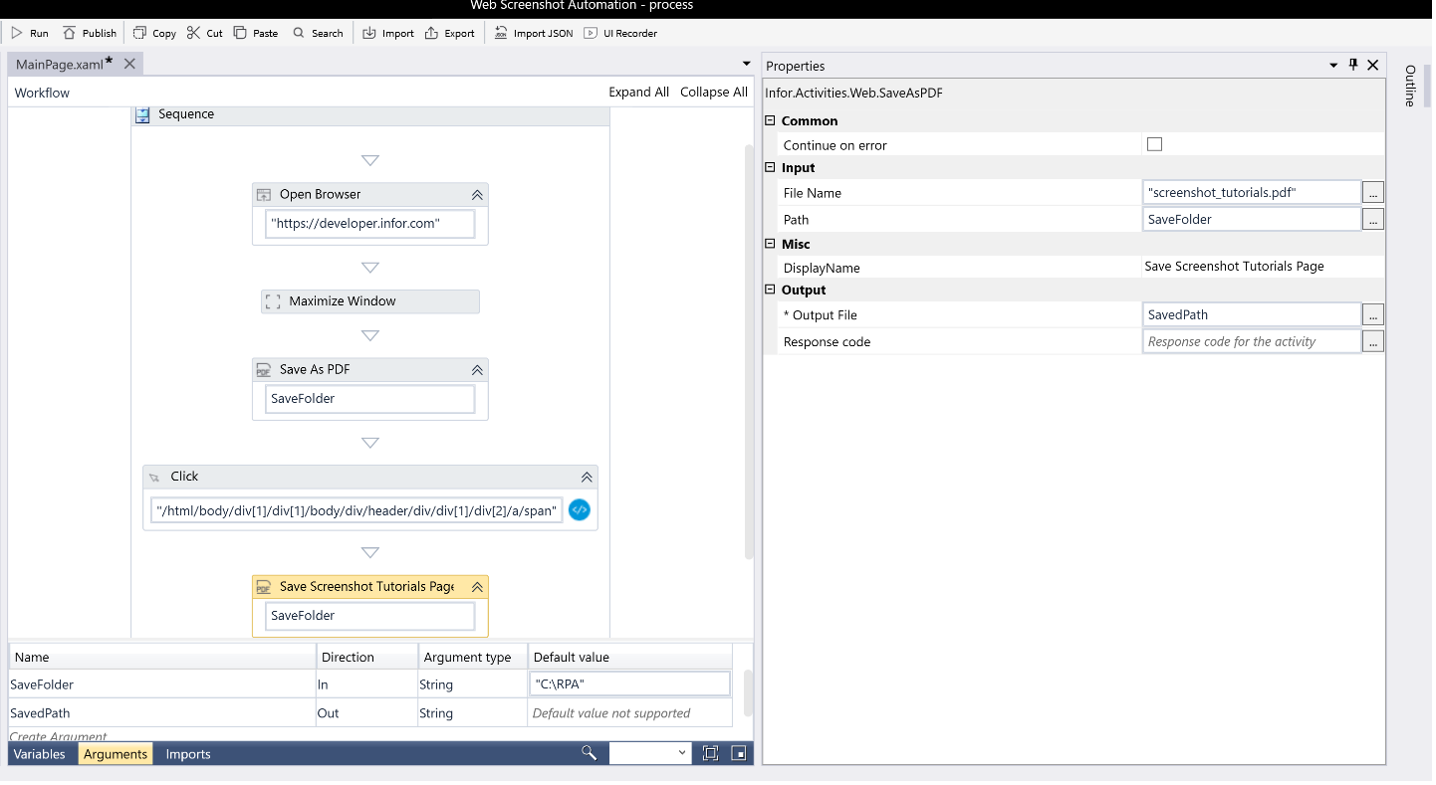
Add second PDF capture
- Copy the existing "Save as PDF" activity (right-click → Copy)
- Paste it after the Click activity
- Modify the properties: • File Name: "screenshot_tutorials.pdf" • Path: SaveFolder • Display Name: "Save Screenshot Tutorials Page" • Output: SavedPath
13
Test complete flow
Save and run the complete automation. It should:
- Open browser and navigate to developer portal
- Maximize window and save first PDF
- Click on Tutorials link
- Wait for page load and save second PDF
- Close browser

14
Publish the automation
To make your automation available to others, you'll publish it to RPA Management. Note: Publishing requires RPA Admin role. Contact your system administrator if you receive permission errors.
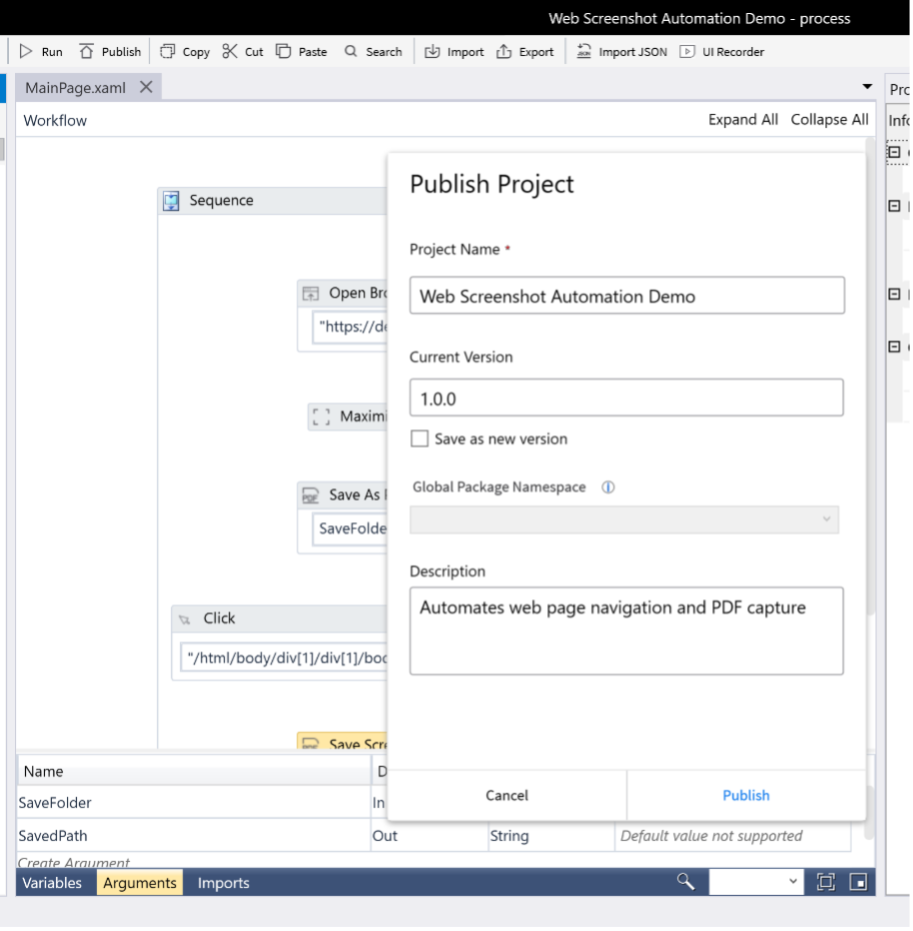
- In RPA Studio, click Publish
- Configure publication settings: o Name: Web Screenshot Automation Demo o Version: 1.0 (Should have the option of identifying changes via version numbers) o Description: Captures screenshots of developer portal pages
3. Click Publish. A sensitive data warning will appear - click Yes to proceed for this example. If successful, you'll see a confirmation message, click OK. You may need to log out and back into RPA Studio if new permissions were given in order for them to take effect.
15
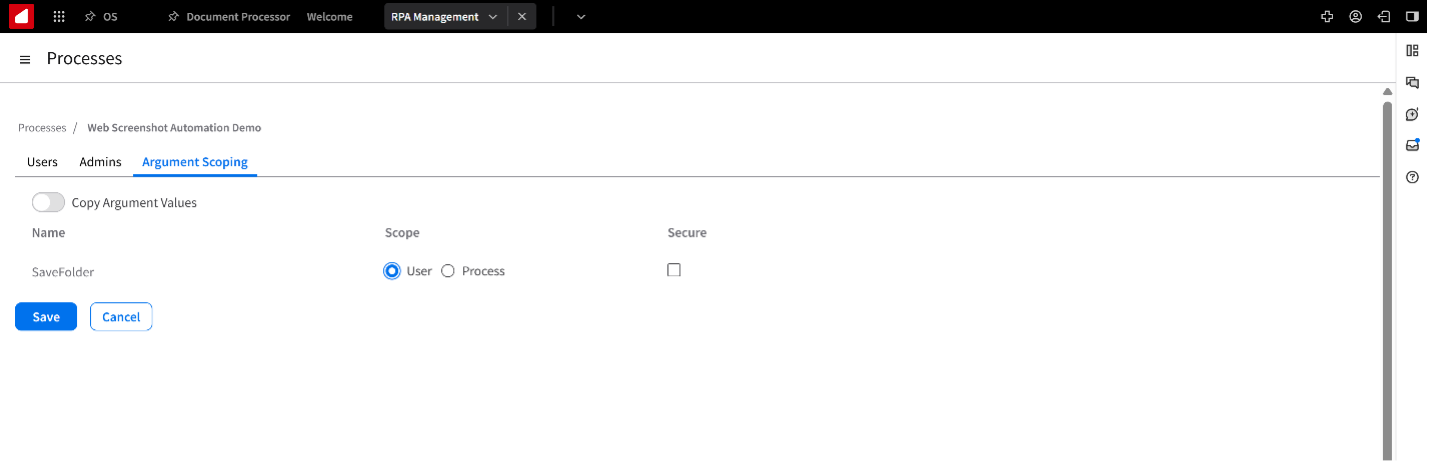
Configure published process
- Navigate to RPA Management in Infor OS
- Go to Processes (under Manage)- you should see your published automation
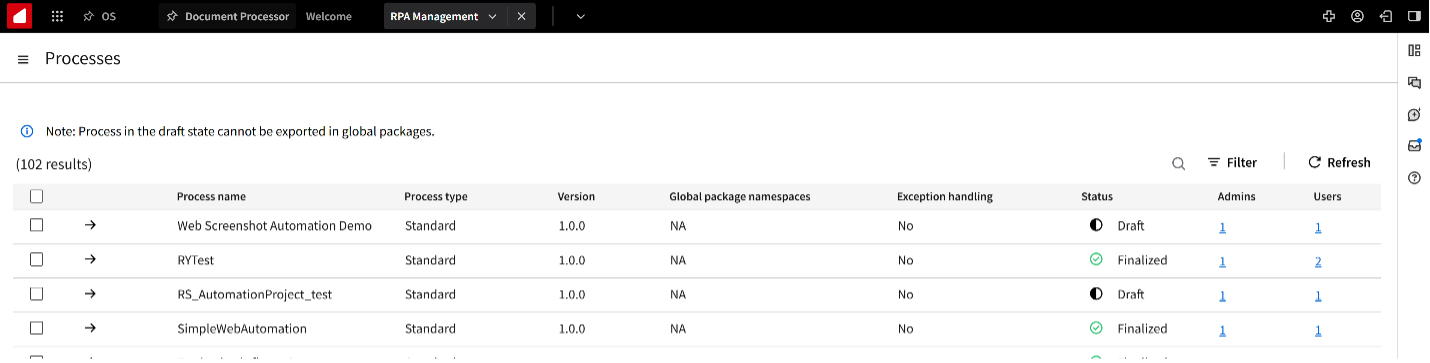
3. Click on the arrow next to your process to configure it
4. In the Argument Scoping tab for SaveFolder, click the User radio button so end users can specify their save location
5. Save the configuration
16
Execute from RPA assistant
- Open RPA Assistant
- Refresh to see your published process
- Click on Web Screenshot Automation
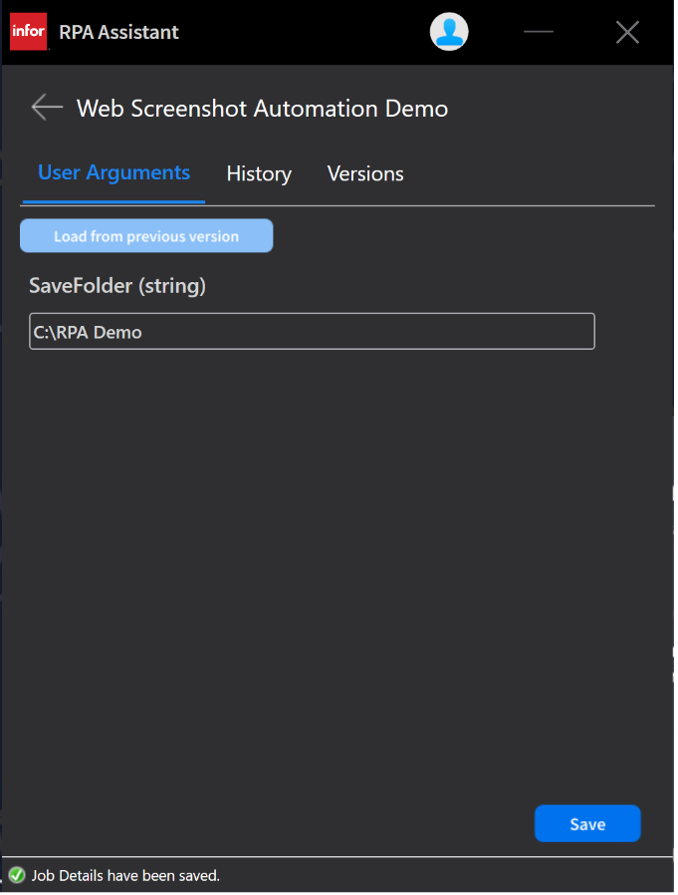
- Click on the vertical ellipsis, then show process details, specify the save folder path (e.g., C:\RPA Demo). This folder must already exist.
- Click Save then the back arrow.
- Click Run
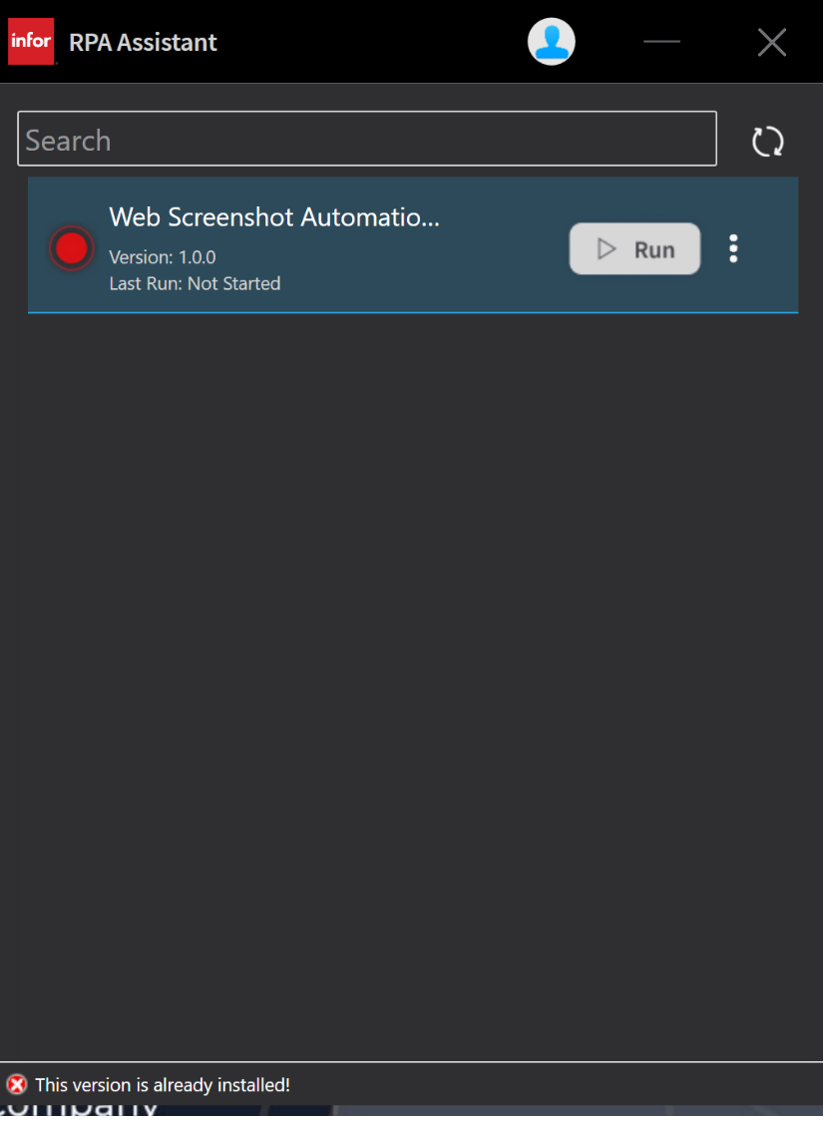
The automation will execute independently of RPA Studio, allowing end users to run your automation without needing design access.
Best Practices
When creating RPA automations, follow these guidelines:
Error Handling: Always uncheck "Continue on Error" unless you specifically need the automation to proceed despite failures. This ensures problems are caught early rather than cascading through your workflow.
Wait Times: Include appropriate wait times before and after activities, especially when interacting with web pages or applications that need time to load. A general rule is 500-1000 milliseconds for simple actions, longer for page navigation. Descriptive Naming: Use meaningful names for your activities, arguments, and projects. "Click Button 1" is less helpful than "Navigate to Tutorials Page" when troubleshooting or maintaining automations.
XPath Reliability: When possible, use CSS selectors or stable element IDs instead of auto-generated XPaths, as they're more resilient to minor page changes. Test your element selectors thoroughly across different scenarios.
Version Control: Use the versioning feature when publishing updates to existing automations. This allows you to rollback if issues arise and helps track changes over time.
Resources
On this page
- Getting started with RPA: Installation, basic flows, and publishing